Video editing for beginners:
where to start.
Here's the thing: you don't need to learn a program to start editing. You need to know what an edit does. Let me show you, with four real videos.
 Ben, founder of Montage · · 8 min read
In this post9 parts
The short answer.
Ladies and gentlemen, let's start with the answer, because that's what you came for.
Video editing for beginners comes down to five things. Cut what you don't need. Show what you're talking about. Add captions. Fix the color. Get the sound right. That's it. Every video does those five, from a 30-second short to a 9-minute YouTube film.
Now, there are two ways to learn them. The first one: learn a timeline editor like DaVinci Resolve or CapCut, and do each of those five things by hand. The second one: describe the edit to an AI editor, watch what it makes, and comment on what's wrong.
Which one? If you just want your first video out, I think the second way is faster. If you want a job as an editor, learn the first. Simple as that.
What video editing actually is.
So what is editing, really? Let me explain.
Editing is a series of decisions. Which takes to keep. In what order. How long each moment stays on screen. What people see while you talk, and what they hear.
The software is only where you make those decisions. And here's the problem: most beginner guides start with the software. Which one to pick. Which shortcuts to learn. How to organise your files. No wonder editing feels so hard at the start. You're learning two things at once: the decisions, and the program.
The software changes. The decisions don't.
So start with the decisions. That's the part that makes a video good, and it stays the same from one tool to the next.
The five things every edit does.
1. Cut what you don't need
The pauses. The « ums ». The takes where you lost your words. Cutting them is the first pass on any video of someone talking. And, to be honest, the most boring one.
When you cut inside one shot and the picture jumps a little, that's called a jump cut. On YouTube and TikTok it's normal. People expect it.
Let me give you a real example. My film From Disney star to space CEO started as seven takes, 33 minutes filmed on an iPhone. The finished video? 9 minutes and 18 seconds, with 216 cuts. Montage cut the pauses and the retakes and kept the best take of each line.
2. Show what you're talking about
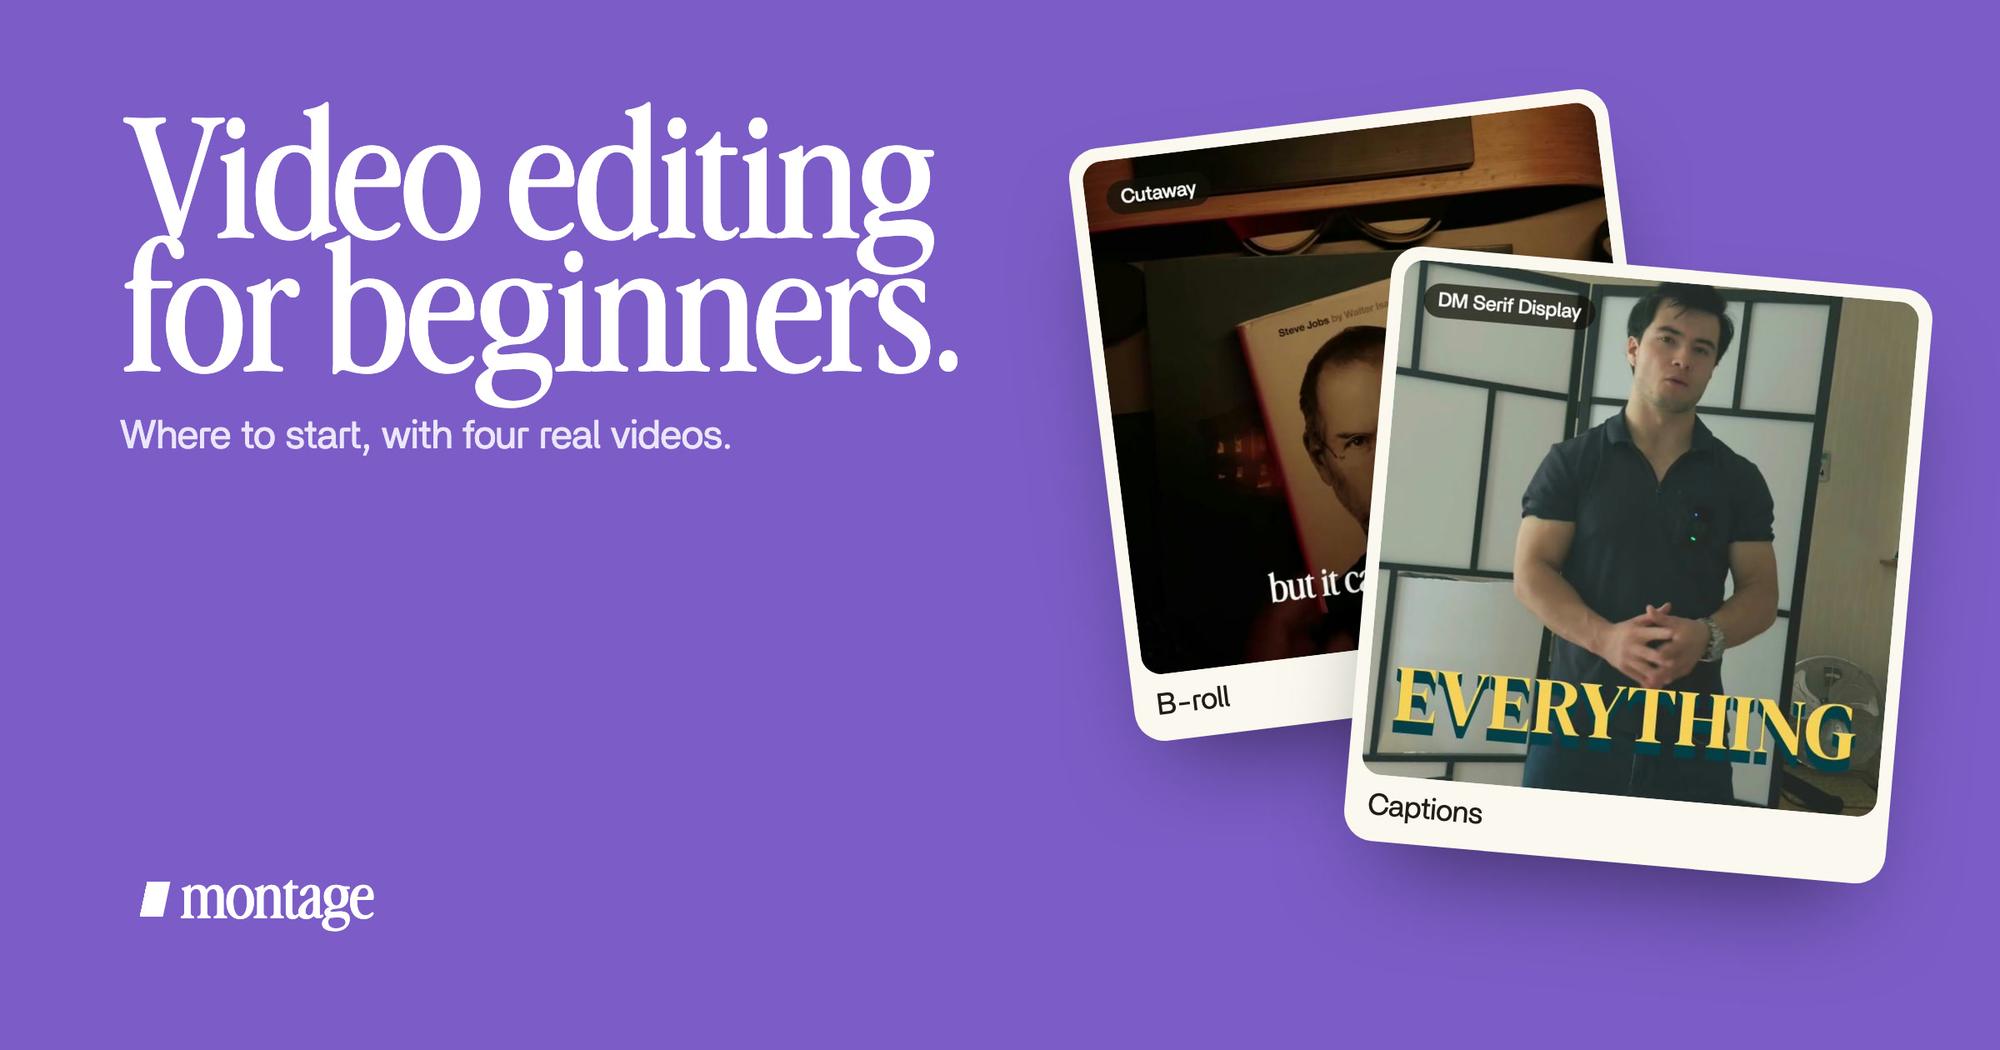
When you say « my notebook », the notebook should be on screen. Pretty simple, right? Those extra shots are called B-roll. They keep a talking-head video moving, and they show what words can't.
 B-rollWhile I talk, it cuts to the right shot: the book, the notebook, the whiteboard.
 B-rollI say CrossFit, my photo drops in. One picture for each thing I love.
In How to be creative, it cuts to the book, the notebook and the whiteboard while I talk. In Way too curious, each thing I love drops in as a photo the moment I say it. More on that in the B-roll guide.
3. Add captions
A lot of people watch with the sound off. So captions aren't a bonus. They're part of the video.
On a short vertical video, they're part of the look too: the font, the color, one word bigger than the others.
 Captions
In Way too curious I asked for yellow, uppercase, a blue drop shadow, and the key word drawn bigger. One sentence. Boom. Here's how captions work in Montage.
4. Fix the color
Now, phones don't always get the picture right. Too dark. Too flat. A little green. Color correction fixes that. Color grading goes further and gives the video a look.
 Color correctionFilmed too dark on an iPhone. I asked for a grade, no LUT: Montage lifted it on its own. Same frame, split.
 Color correctionFilmed flat in Apple Log, my LUT on every shot. Same frame, split down the middle.
Way too curious was filmed too dark on an iPhone. I asked for a grade, no LUT, and Montage lifted it. How to be creative was filmed in Apple Log, which looks grey until you put a LUT on it: a file that turns flat footage into a finished look. More in the color grading guide.
5. Get the sound right
Your voice first. Then music under it, quiet enough that the voice stays clear. Then a sound on the moments that matter.
A great picture with bad sound feels broken. The reverse feels fine.
I know, it sounds backwards. But try it once, and you'll hear it.
Two ways to start in 2026.
Okay. Let's put the two ways side by side.
| Learn a timeline editor | Describe it to an AI editor | |
|---|---|---|
| Examples | DaVinci Resolve (free version), CapCut, iMovie, Premiere Pro | Montage |
| How you edit | You place every clip on a timeline and adjust it by hand | You say what you want, watch, and comment on the picture |
| What you learn first | The program: tools, panels, shortcuts | The five decisions above |
| First video | After you learn the basics | The first day |
| Best for | Anyone who wants a job as an editor, or full manual control | Creators who film themselves and want videos out |
| Not for | People who just want to post this week | Film and TV editors who need an industry tool |
So, which one is for you? If you're aiming at a career in film or TV, learn Premiere Pro or DaVinci Resolve. Truth is, that's what studios use, and there are years of free tutorials for both.
Sure. But for everybody else? Start with the decisions, and let the tool do the hands.
Learn what to cut before you learn where to click.
Your first video, step by step.
Here's how I'd do it today. Eight steps, nothing more.
- Film short. One idea, under a minute. Phone at eye level, a window in front of you, not behind.
- Film more than one take. Say each line two or three times. You'll keep the best one.
- Film the things you'll mention. The book, the screen, the place. Five minutes of B-roll after you finish.
- Drop everything in, as it is. No sorting, no renaming.
- Say what the video is for. « A 60-second short for TikTok. Cut the pauses, add captions, show the book when I talk about it. »
- Watch it once, all the way through. Don't fix anything yet. Just notice where you get bored.
- Comment on what's wrong. Pause where something's off and point at it: « cut this pause », « make this word bigger ». Then fix everything at once.
- Export. The video, ready to post.
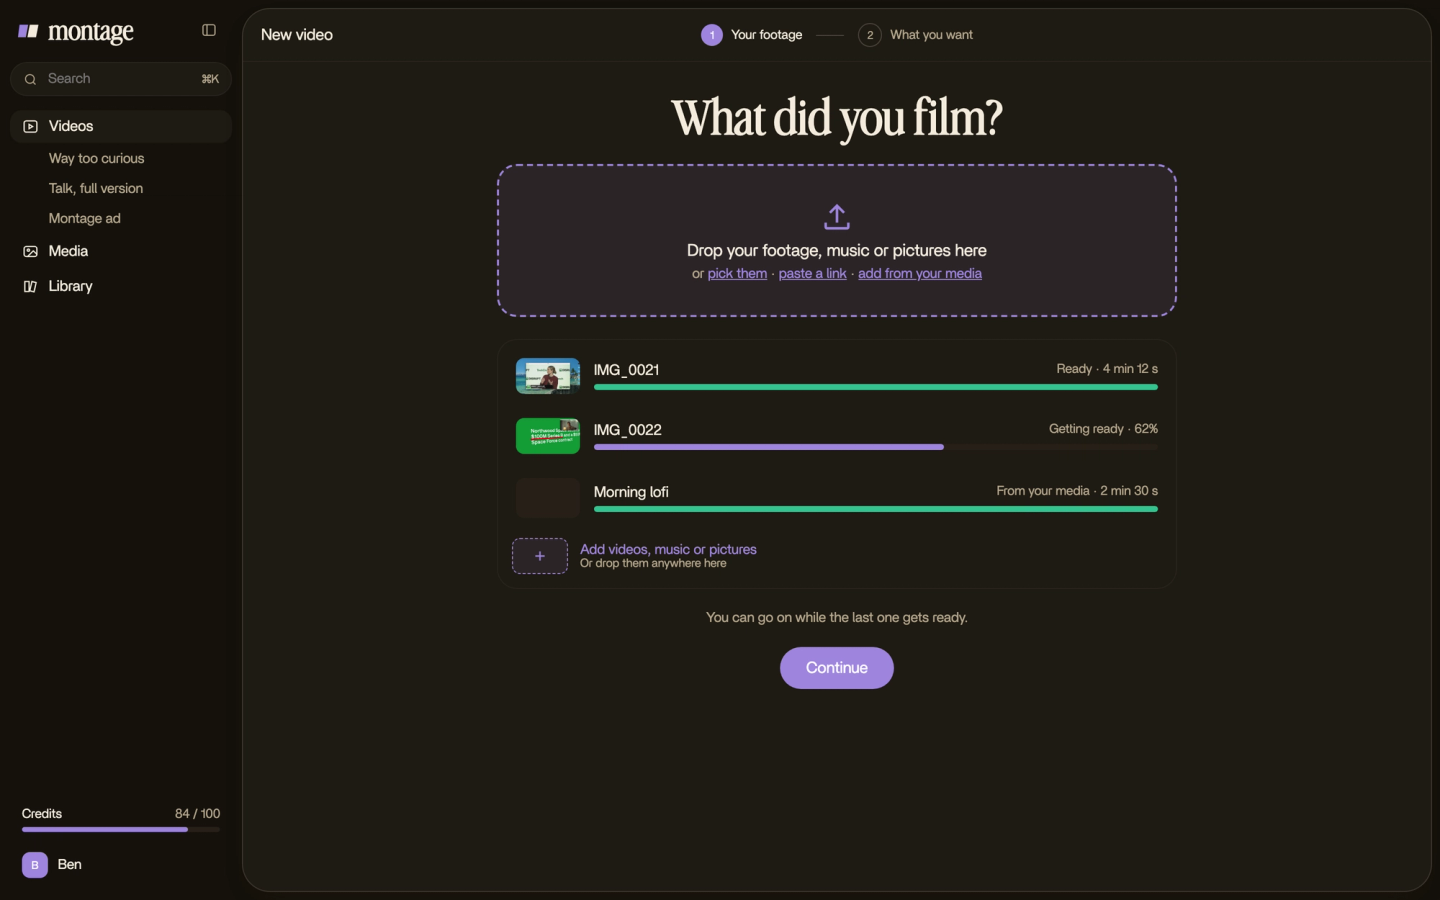
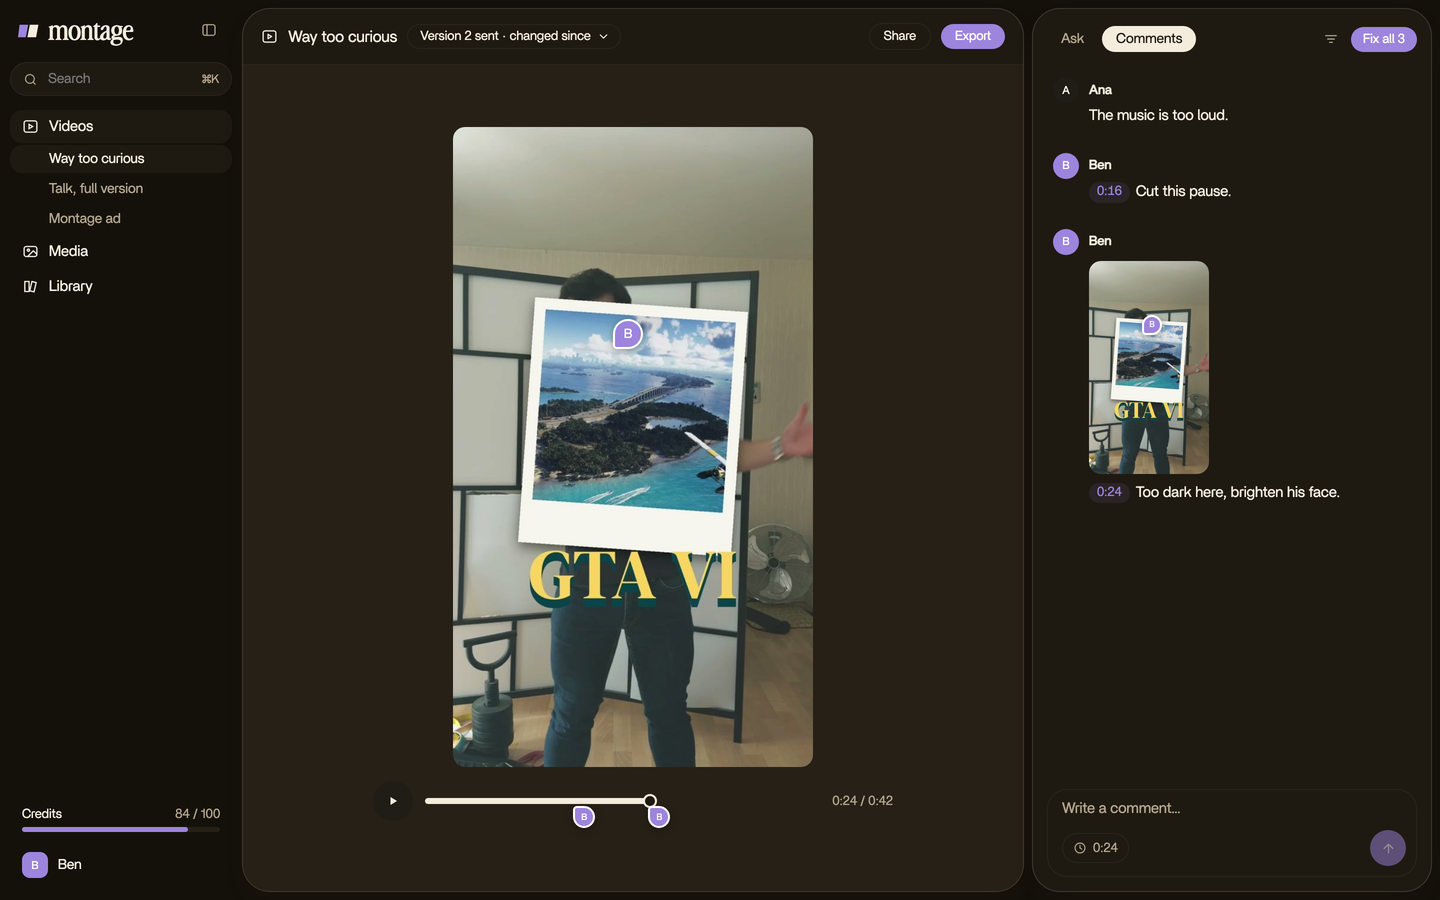
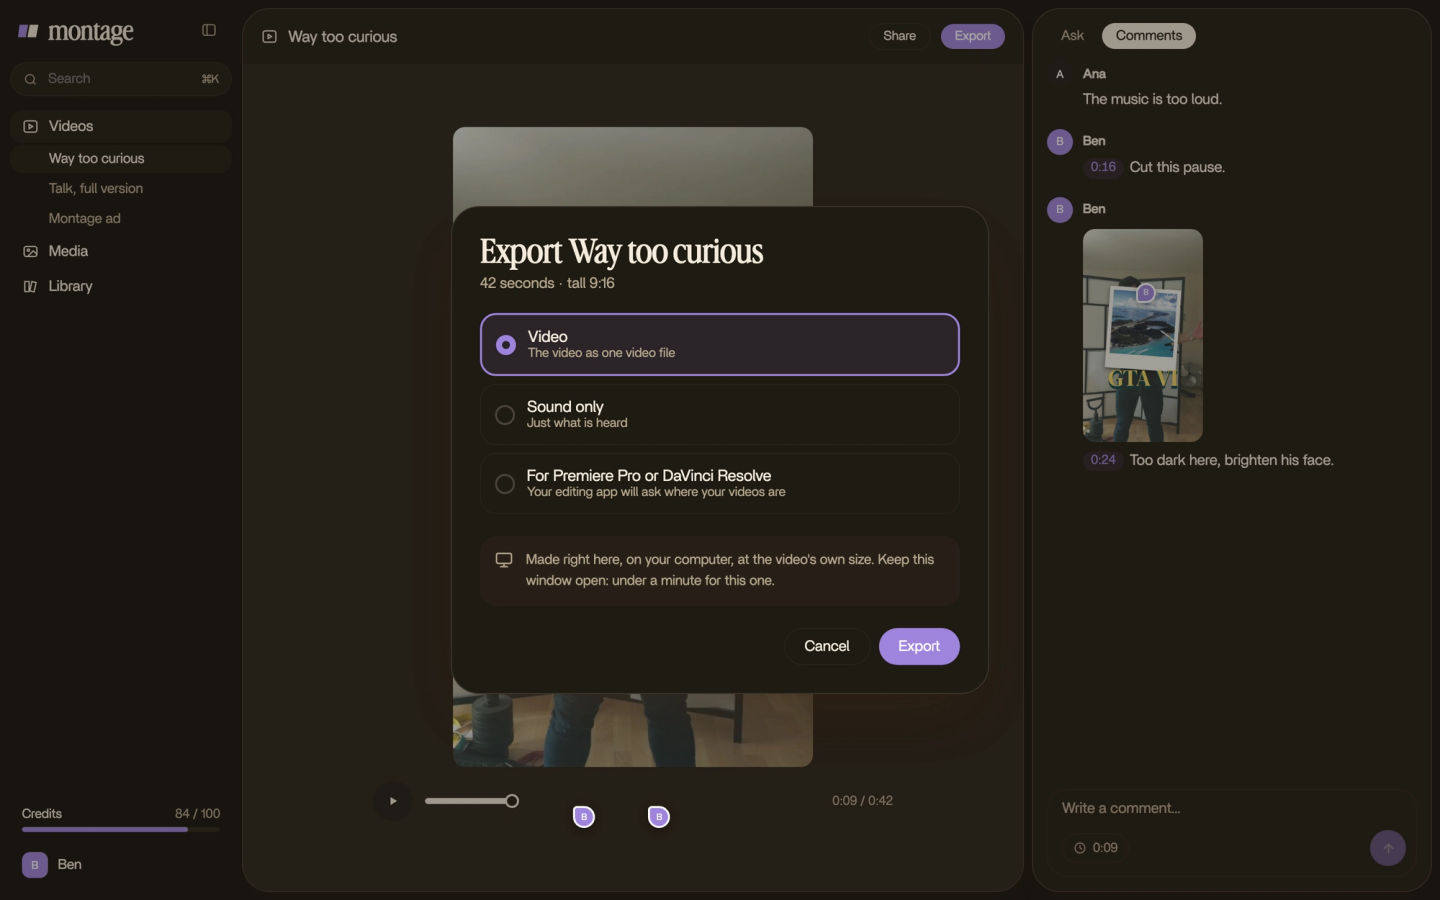
And with a timeline editor? Steps 1 to 4, and 6, are the same. Steps 5, 7 and 8 become the work you do by hand. Do you see the difference?
The mistakes I made, so you don't.
Let's be clear: I made every one of these.
- Keeping everything. The first cut is always too long. If you're bored watching a moment, so is everyone else.
- Filming flat and forgetting to grade. Apple Log looks grey on purpose. Without a LUT or a grade, it stays grey.
- Shots upside down. My notebook shots were filmed from above, upside down. Rotate before you judge them.
- No captions. People scroll past a silent face.
- One take of each line. You can't keep the best take if there's only one.
The words you'll hear.
You'll hear these everywhere. Here they are, in plain words.
- Timeline: the strip in most editors where clips sit one after another, left to right.
- Cut: where one shot ends and the next begins.
- Jump cut: a cut inside the same shot, so the picture jumps a little.
- J-cut and L-cut: the sound of the next shot starts before its picture (J), or the sound of this shot keeps going over the next picture (L).
- B-roll: the extra shots that play while you keep talking.
- LUT: a file that turns flat footage into a finished color.
- Aspect ratio: the shape of the video. 9:16 for Shorts, Reels and TikTok, 16:9 for YouTube.
- Export: making the final video file from your edit.
Questions about video editing for beginners.
How do I start basic video editing?
Film one short idea in a few takes. Then cut the pauses, show what you talk about, add captions, fix the color and check
the sound. That's basic video editing. Five steps.
Can I teach myself video editing?
Yes. Most editors taught themselves, with free tutorials and a lot of practice. My advice: start with one short video,
not a course.
What is the easiest video editor for beginners?
In my opinion, the easiest one is the one where you don't have to learn the program first. With an AI editor like
Montage, you describe the edit and comment on it. If you want a timeline, CapCut and iMovie are the simplest, and
DaVinci Resolve is free and goes much further.
What is the 3:2:1 rule in video editing?
It's a backup rule: keep 3 copies of your footage, on 2 different kinds of storage, with 1 copy somewhere else, like the
cloud.
See it in real videos.
Everything in this guide was done in real videos, each one asked for in a sentence. The four videos in the showcase show what went in and how each one was made.
 9:18
 2:07
 0:56
 0:38
That's it for this one. Now go film something.
See you in the next one.