Video editing tips for YouTube:
shown on a real film.
Every list of YouTube editing tips says the same things, and shows them on nothing. So let's take one real 9-minute film and go through the decisions in it, one tip at a time.
 Ben, founder of Montage · · 7 min read
In this post7 parts
The short answer.
Ladies and gentlemen, let's start with the answer.
Here are my seven video editing tips for YouTube. Cut the pauses and the retakes first. Grade only the takes that need it. Move your face, don't cut it. Build what repeats once. Show the source when you cite it. Give a guest and a sponsor their own frame. And watch it with fresh eyes, then check where people leave.
That's it. Seven tips. And every one of them comes from one real video: my film From Disney star to space CEO. You can watch the whole 9-minute film and find each tip in it.
If you've never edited a YouTube video before, start with how to edit a YouTube video, step by step. This one is for when you already film and edit, and want the video better.
The film these tips come from.
So what are we looking at? Let me explain.
From Disney star to space CEO is a long-form YouTube video, 16:9. It started as seven takes, 33 minutes filmed on an iPhone. The finished film is 9 minutes and 18 seconds, with 216 cuts. There's a face cam, B-roll, real headlines on screen, a guest, and a sponsor.
Which is exactly why it's useful here. A short can get away with captions and a few cuts. Nine minutes can't. Nine minutes is where the same overlay gets rebuilt by hand on every cut, where some takes look different from the others, and where the video starts to look the same for too long.
The tips that matter in long form only show up in a long video.
Seven video editing tips for YouTube, shown on one film.
1. Cut the pauses and the retakes first
Before anything else, take out what you don't need: the pauses, the « ums », the lines you said three times. That's the first pass on any video of someone talking.
In this film, seven takes and 33 minutes became 9 minutes and 18 seconds, and only the best version of each line stayed. Here's the thing: you can only keep the best take if you filmed more than one. So record with the edit in mind.
2. Grade only the takes that need it
It's tempting to put one grade on everything. I don't think you should.
Takes 4 to 7 of this film were filmed flat. Those got the NOMAD LUT. The first three takes were left as they were. In my opinion, a LUT on footage that's already right does more harm than good.
Grade the takes that need it. Leave the rest alone.
 Color correction
More on putting a LUT on the flat takes only.
3. Move your face, don't cut it
When you cut to B-roll, you don't have to lose yourself. In this film, during the B-roll (Good Luck Charlie, Ready or Not, Billboard, the TODAY antenna), the face cam moves to the corner while each clip plays.
The viewer keeps both: what you're talking about, and you talking about it.
 B-roll
4. Build what repeats once
I think this is the tip that saves the most time in long form. And none of the tip lists I read mention it.
In a 9-minute video, the same things come back again and again. My face cam is a macOS window over the James Webb images, and it's on every one of the 216 cuts. There's one media card, a picture or a clip with its caption on a dark page, and it's used 26 times.
Now, imagine rebuilding that by hand on every cut. No thanks. Make it once, as a component, and reuse it.
Build it once. Use it 216 times.
 ComponentsMy face cam is a component: a macOS window over the James Webb images, on every one of the 216 cuts. Click to watch it.
 Reusable componentsOne media card, used 26 times: a picture or a clip, its caption, on the dark page. Click to watch it.
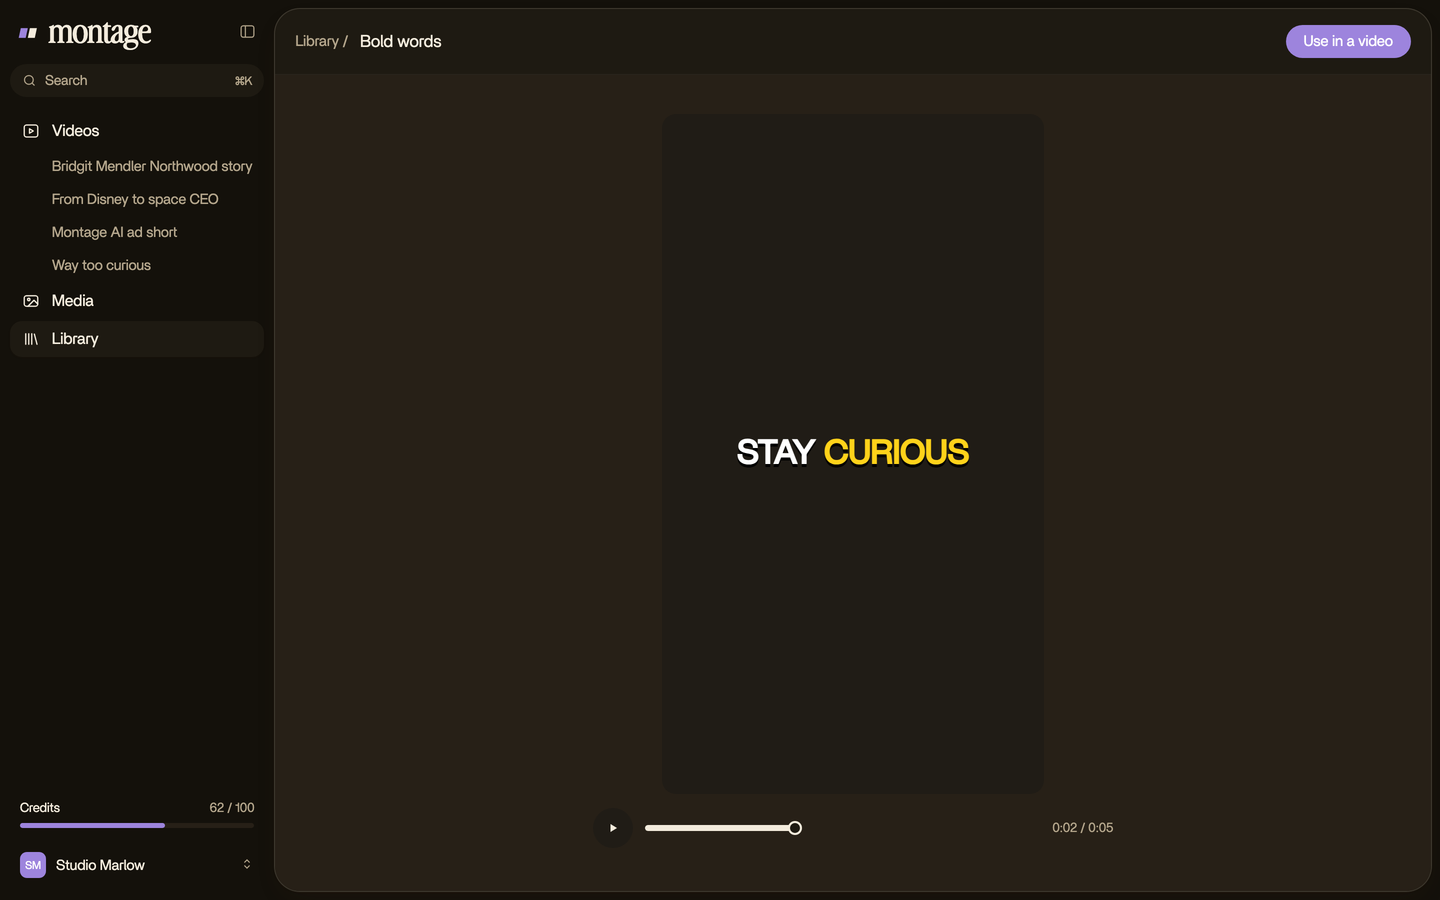
You can build the face cam once, as a template, and use it on the next video too.
5. Show the source when you cite it
When you say « this headline », put the headline on screen. Pretty simple, right?
In this film, a real headline is highlighted in yellow while I read it. People see the source, not just my word for it. It's proof, and it's something to look at.
 Motion design
Here's how to highlight the headline as you read it.
6. Give a guest and a sponsor their own frame
A guest isn't B-roll. Give them a window of their own.
Here, Bridgit at TechCrunch Disrupt gets her own window over a Mac desktop, while I keep talking. And the sponsor gets a card made just for it: frosted glass, the QR code and the code BLG. Made once, like the face cam.
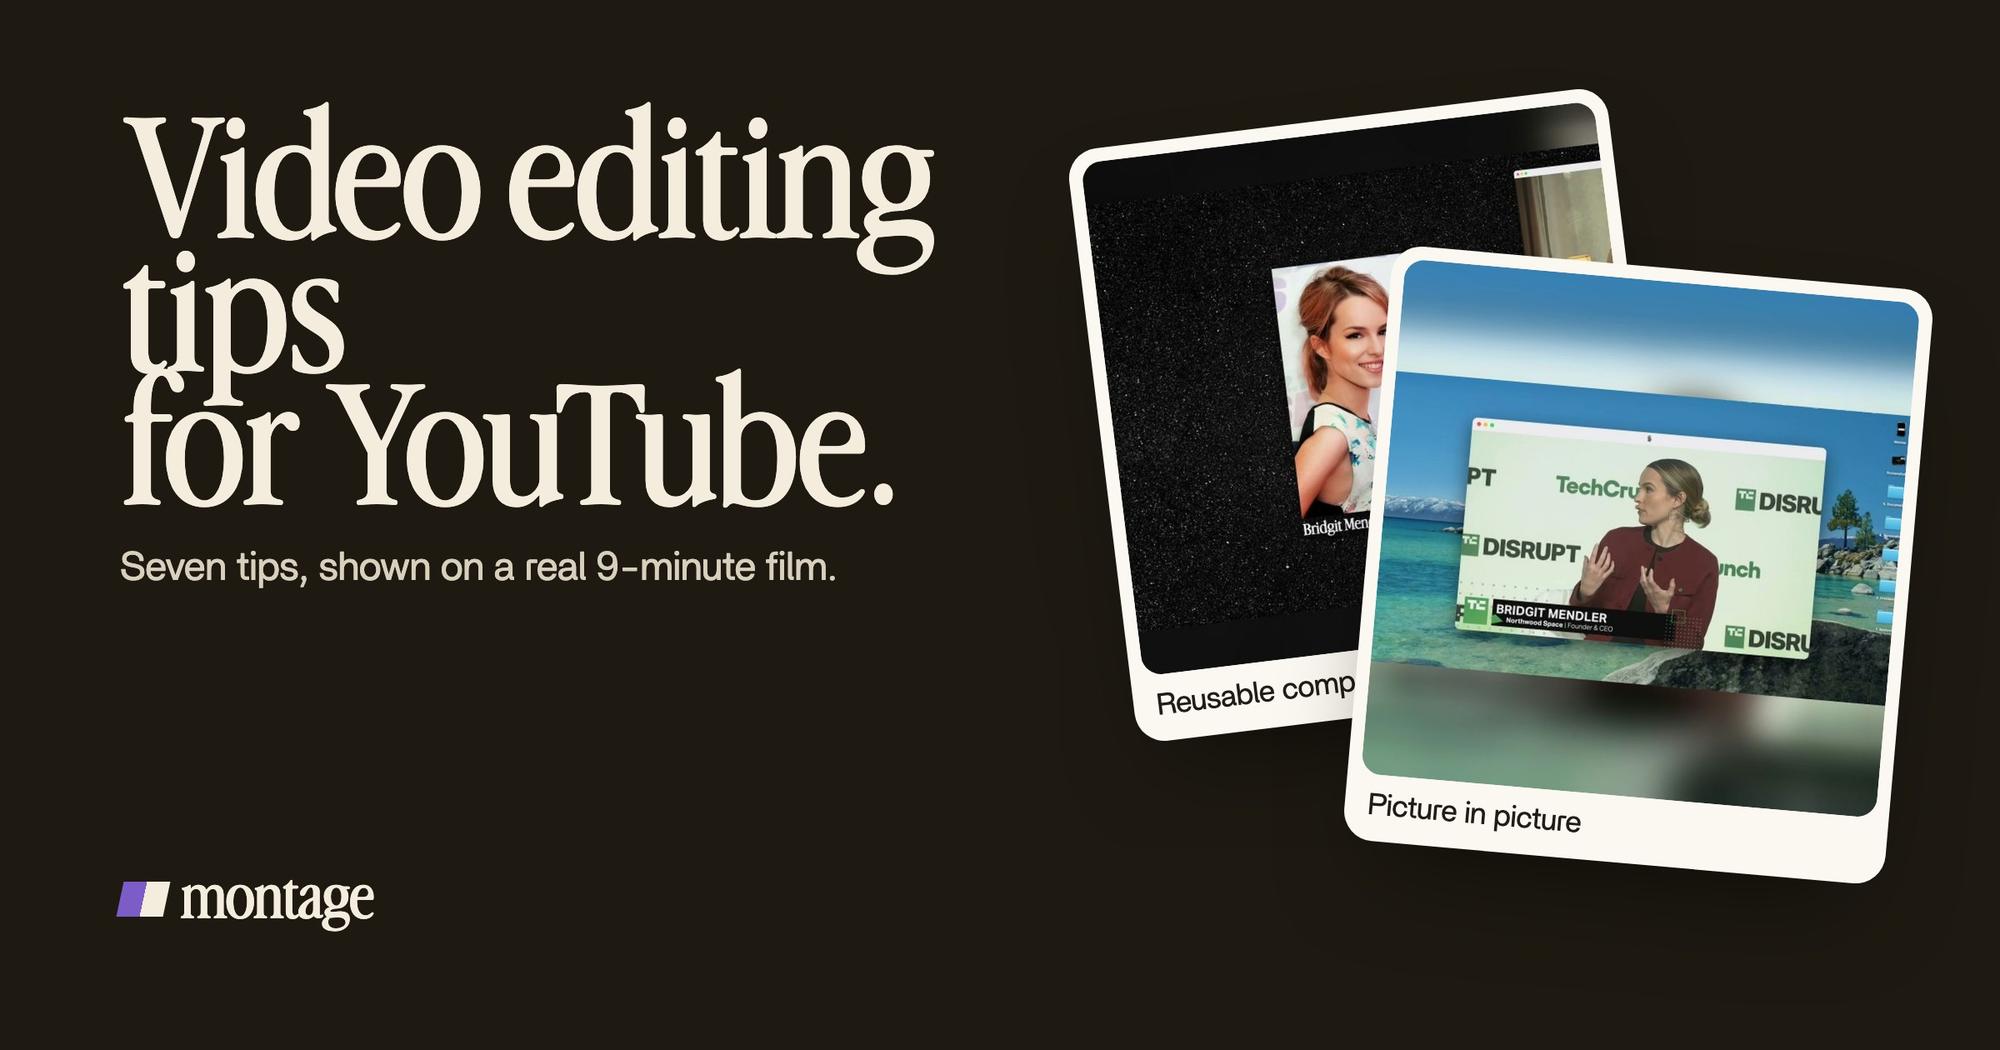
 Picture in pictureThe guest gets a window of her own: Bridgit at TechCrunch Disrupt, over a Mac desktop, while I keep talking.
 Sponsor cardA component made for the sponsor: frosted glass, the QR code and the code BLG. Click to watch it.
7. Watch it with fresh eyes, then check where people leave
Watch the whole thing once, all the way through, before you fix anything. Pause where something feels off and note it. Then fix it all at once.
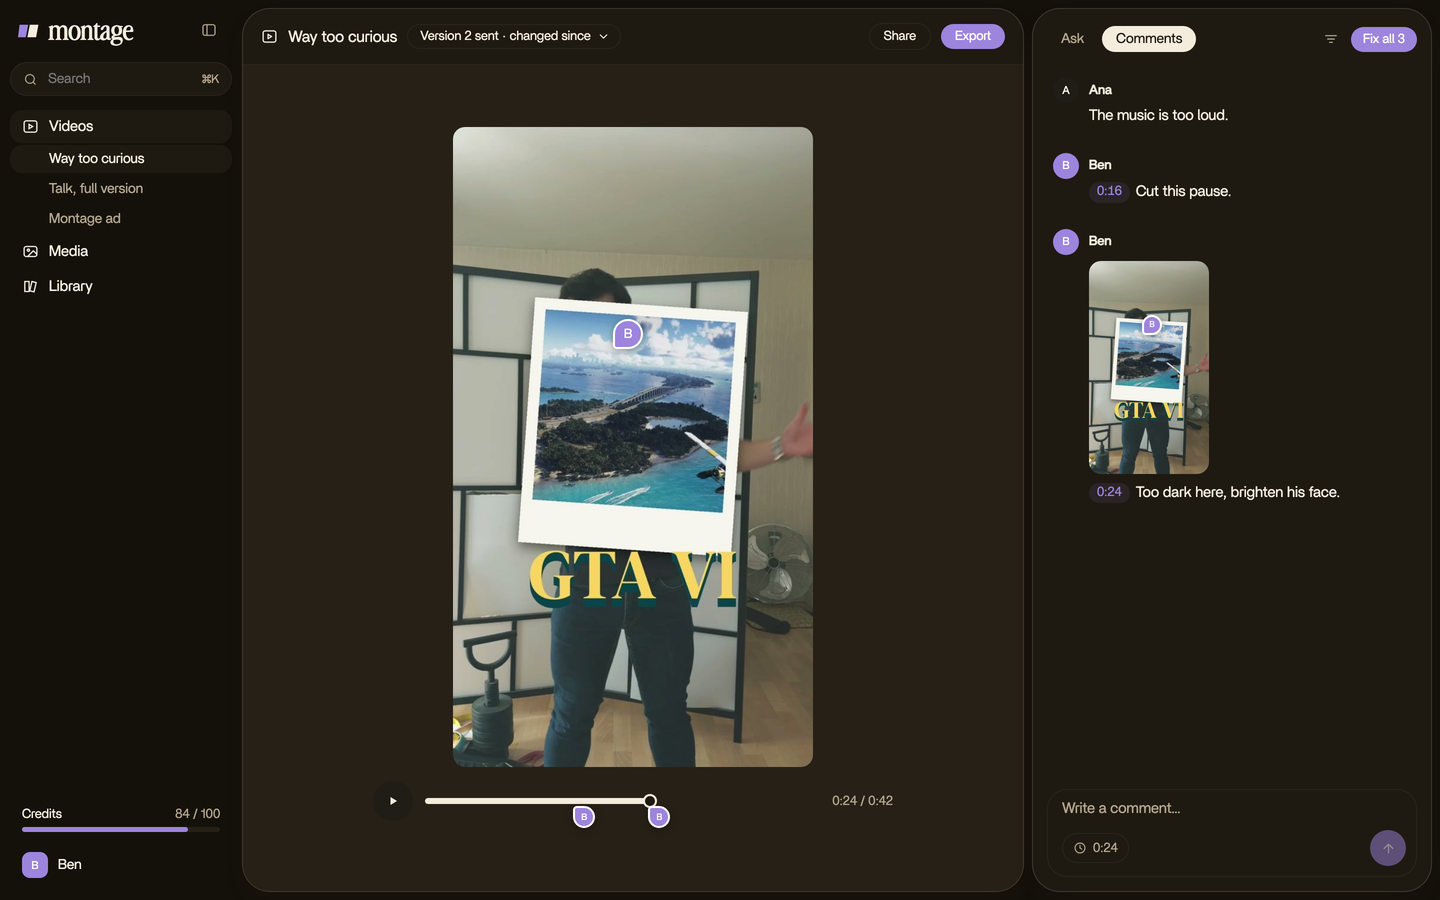
After it's out, YouTube itself tells you the rest. YouTube Help says to look at audience retention in YouTube Analytics: dips can mean viewers skip those parts or leave. That's where your next edit starts. More on that in retention editing.
The classic tips, kept short.
You'll find these on every list. They're true. So here they are, short, with where they come from.
- Plan the edits while you write. A shot list, a few takes, extra footage for B-roll (YouTube Help).
- A dissolve says time has passed. A straight cut says it's the same moment (The DIY Video Editor).
- Don't overdo the cuts and the effects. Riverside's warning, and a fair one.
- Back up your footage: 3-2-1. 3 copies, on 2 kinds of storage, 1 somewhere else (No Film School, Lexar).
Video editing tips for YouTube, side by side.
Okay. Let's be fair here: every one of these tips works in Premiere Pro, DaVinci Resolve or CapCut too. You just do it by hand. Here's what each one looks like either way.
| Tip | By hand on a timeline | Asked for in Montage |
|---|---|---|
| Cut pauses and retakes | Scrub every take, cut each pause, pick the best line | Asked for once: the pauses and retakes go, the best take stays |
| Grade only the flat takes | Find the flat clips, apply the LUT to each | Asked for once: the LUT on takes 4 to 7 only |
| Move the face during B-roll | Keyframe the face cam to the corner on every B-roll clip | Asked for once: the face cam moves to the corner during B-roll |
| Build what repeats once | Copy and paste the overlay, fix it on every cut | Made once as a component, reused |
| Show the source | Import a screenshot, draw the highlight, time it | Asked for once: the headline highlighted while it's read |
| Guest and sponsor frames | Build a picture-in-picture and a card by hand | Asked for in a sentence, fixed by commenting |
| Fresh-eyes review | Write notes, then go back and find each spot | Comment on the picture, then « Fix all » |
So which is for you? If you love the timeline and want full manual control, keep it. Truth is, a lot of great YouTubers do. Here's the software YouTubers edit with if you're picking one.
Sure. But if what you want is the video out, the tips stay the same. Only the hands change.
And if you're wondering about time, here's how long a YouTube edit takes.
Questions about video editing tips for YouTube.
What are some tips for editing videos for YouTube?
Cut the pauses and retakes first, grade only the takes that need it, keep your face on screen during B-roll, build
repeated elements like a face cam once, show your sources on screen, give guests and sponsors their own frame, and
review the whole video before fixing anything. Then check audience retention in YouTube Analytics.
What is the 3:2:1 rule in video editing?
It's a backup rule: keep 3 copies of your footage, on 2 different kinds of storage, with 1 copy somewhere else, like the
cloud.
Do these tips work in any editor?
Yes. They're decisions, not features. In Premiere Pro, DaVinci Resolve or CapCut you make them by hand on a timeline. In
Montage, you ask for them in a sentence and comment on the picture.
Are these video editing tips for YouTube beginners too?
Mostly, yes. But if you're starting from zero, read the video editing basics for
beginners first, then come back here.
See it in real videos.
Every tip here is in one real film. If you want an AI editor made for YouTube videos, that's what Montage is for: you say what you want, watch, and comment on what's wrong.
 9:18
 2:07
 0:56
 0:38
That's it for this one. Now go cut something.
See you in the next one.