How to edit a YouTube video:
step by step.
Seven takes, 33 minutes filmed on an iPhone, and a 9-minute film at the end. Let me show you how a YouTube video gets edited, layer by layer, with the real one.
 Ben, founder of Montage · · 9 min read
In this post9 parts
- The short answer
- Two things « editing a YouTube video » can mean
- What a YouTube video is made of
- How to edit a YouTube video, step by step before you post
- Editing a video that's already on YouTube
- Timeline editor or describing the edit?
- The mistakes that make people click away
- Questions about how to edit a YouTube video
- See it in real videos
The short answer.
Ladies and gentlemen, let's start with the answer.
How to edit a YouTube video, in one line: cut your takes down to the best version of each line, then build the layers on top. Fix the color. Put your face on screen the same way every time. Show what you're talking about. Add the text, the guests and the sponsor. Then export in 16:9 and upload.
That's the whole job. A long-form YouTube video is made of those layers, and I'll show you each one in a real film.
Now, you can build them by hand on a timeline, in Premiere Pro, DaVinci Resolve or CapCut. Or you can describe them to an AI video editor for YouTube, watch what it makes, and comment on what's wrong. Both work. I'll show you both, and tell you which one I'd pick.
Two things « editing a YouTube video » can mean.
So, before anything else: which edit do you mean? Because people search for two different things.
- Editing your footage into a YouTube video, before you post it. Your takes go in, a finished film comes out. This is what most of this guide is about.
- Changing a video that's already on YouTube. Trimming the start, cutting a section, blurring something. That happens in YouTube Studio, and it has its own part below.
Here's the thing: the second one can't do the first one's job.
YouTube Studio fixes a video. It doesn't edit one.
What a YouTube video is made of.
Most guides tell you what you « may want » to do. Add some text. Put clips together. Let me show you instead what a real one is made of.
My film From Disney star to space CEO started as seven takes, 33 minutes filmed on an iPhone. The finished video is 9 minutes and 18 seconds in 16:9, with 216 cuts. Here are its layers, one by one.
1. The cut
First pass: keep the best take of each line, drop the rest, and close every pause. That's where the 216 cuts come from. Montage removed the silences and the bad takes and kept the best take of each line.
On YouTube, those cuts inside one shot are jump cuts. Nobody minds them. People mind the pauses.
2. The color
Takes 4 to 7 were filmed flat. The first three weren't. So only the flat takes got a LUT, and the others stayed as they were.
 Color correction
That's the point of grading only the flat takes: one look across the film, without touching the shots that were already right.
3. The face cam, and the B-roll around it
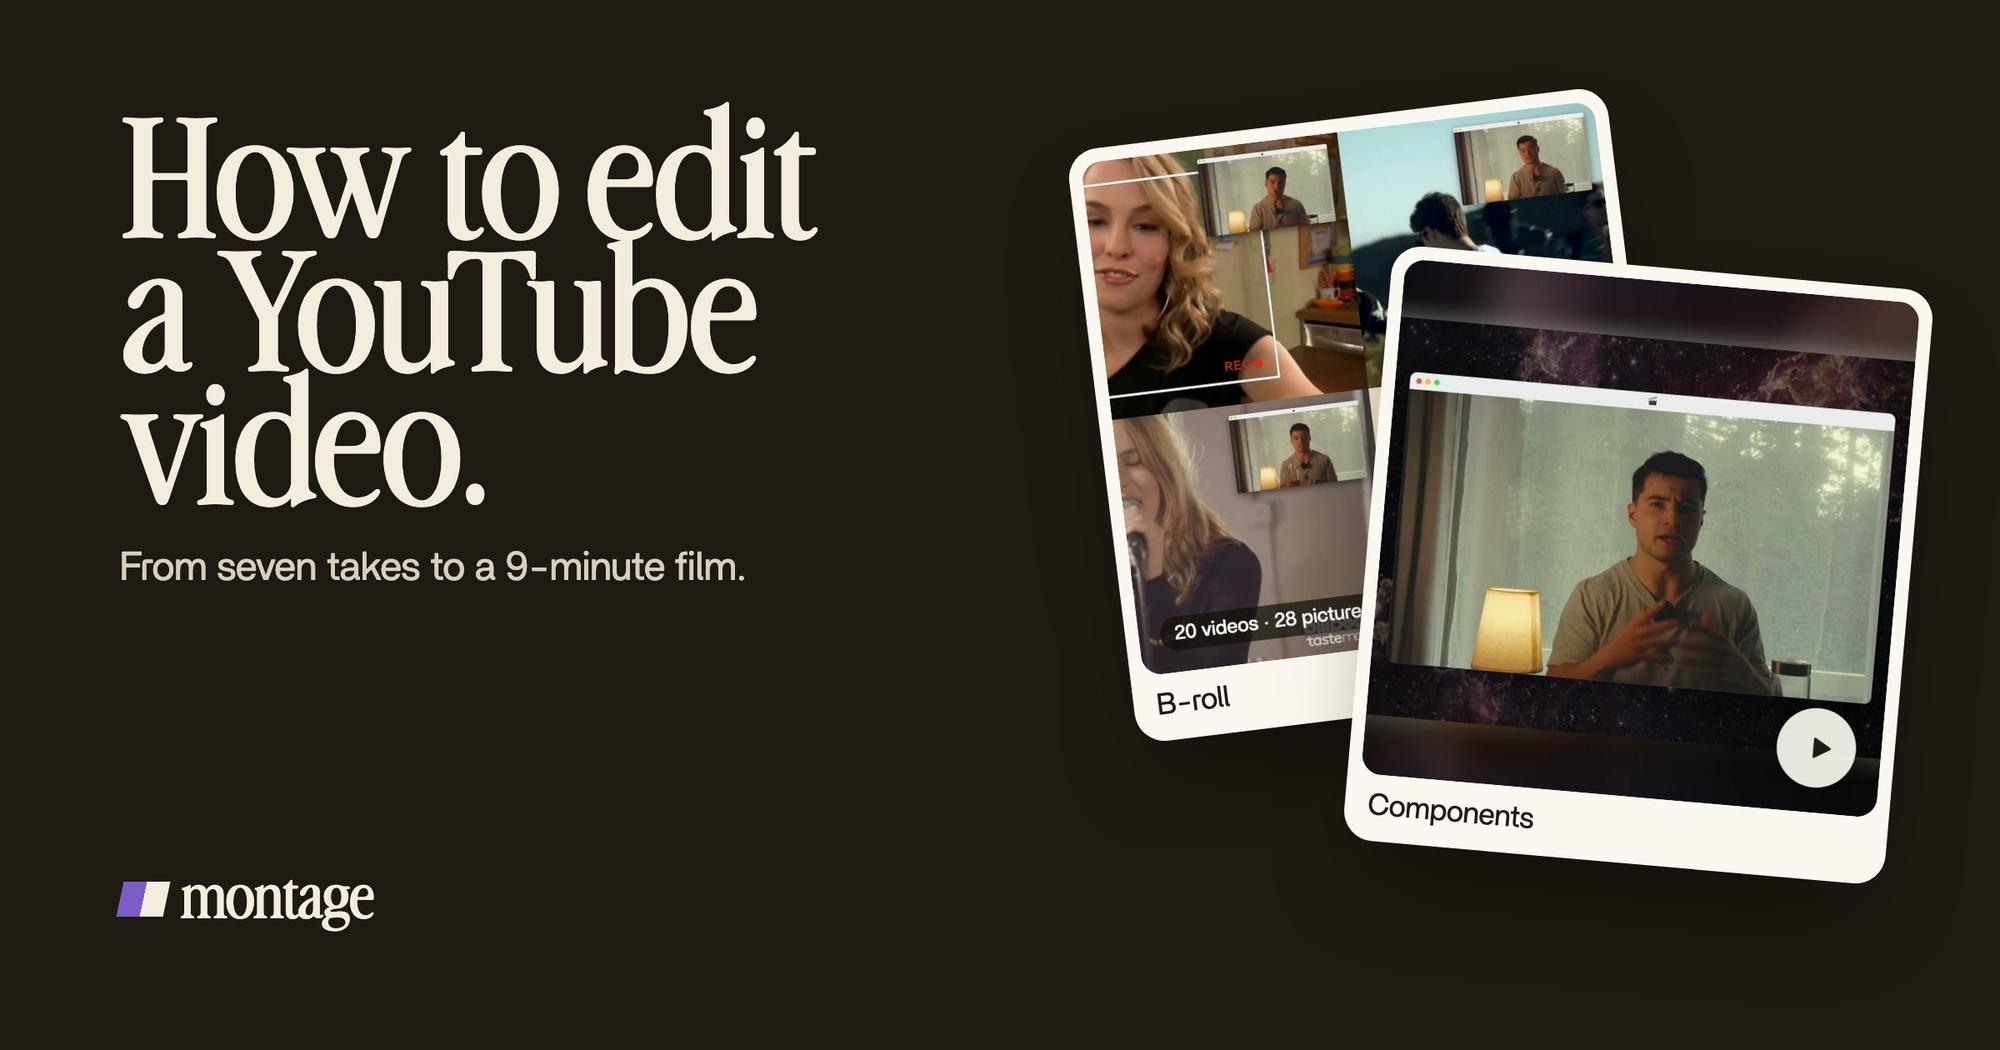
On a long video, your face is on screen for minutes. So it needs a frame that stays the same. Mine is a macOS window over the James Webb images, on every one of the 216 cuts.
Then the B-roll. When I talk about Good Luck Charlie, Ready or Not, Billboard or the TODAY antenna, the clip plays and the face cam moves to the corner. You keep the voice, you see the thing. Every time.
 B-roll
4. The parts you reuse
Now, here's what changes between a short and a long video. On a 60-second short, you can build every moment by hand. On a 9-minute film, you can't. You need parts you make once and reuse.
 ComponentsMy face cam is a component: a macOS window over the James Webb images, on every one of the 216 cuts. Click to watch it.
 Reusable componentsOne media card, used 26 times: a picture or a clip, its caption, on the dark page. Click to watch it.
The face cam is one component. The media card, a picture or a clip with its caption on the dark page, is another one: used 26 times in the same film. That's what reusable templates for YouTube are for.
On a long video, you don't edit moments. You build parts, and reuse them.
5. The layers that make it a YouTube video
Last, the layers you only find on YouTube. A real headline, highlighted in yellow while I read it. The guest in a window of her own: Bridgit at TechCrunch Disrupt, over a Mac desktop, while I keep talking. And the sponsor card: frosted glass, the QR code and the code BLG.
 Motion designA real headline, highlighted in yellow while I read it. Click to watch it.
 Picture in pictureThe guest gets a window of her own: Bridgit at TechCrunch Disrupt, over a Mac desktop, while I keep talking.
 Sponsor cardA component made for the sponsor: frosted glass, the QR code and the code BLG. Click to watch it.
That's it. Seven cards, one film. You can watch the whole 9-minute film and see each layer in place.
How to edit a YouTube video, step by step before you post.
Okay. Here's how I'd do it today, from the camera to the upload.
- Film in takes. Say each line two or three times. You can only keep the best take if there's more than one. More on that in how to record your YouTube videos.
- Film in 16:9. That's YouTube's shape. Phone sideways, at eye level.
- Drop every take in, as it is. No sorting, no renaming. 33 minutes of takes is fine.
- Say what the video is. « A 9-minute YouTube video. My face cam in a window, B-roll when I name something, a sponsor card. » One message.
- Watch it once, all the way through. Don't fix anything yet. Notice where you'd click away.
- Comment on what's wrong. Pause on the moment, click on the spot of the picture, say what to change. Then « Fix all ».
- Export. The MP4 to upload. Or the cut for Premiere Pro or DaVinci Resolve, if someone finishes it there.
- Upload, then fill in the details in YouTube Studio. A title of up to 100 characters, a description of up to 5,000 (YouTube Help on video settings), the thumbnail, the playlist.
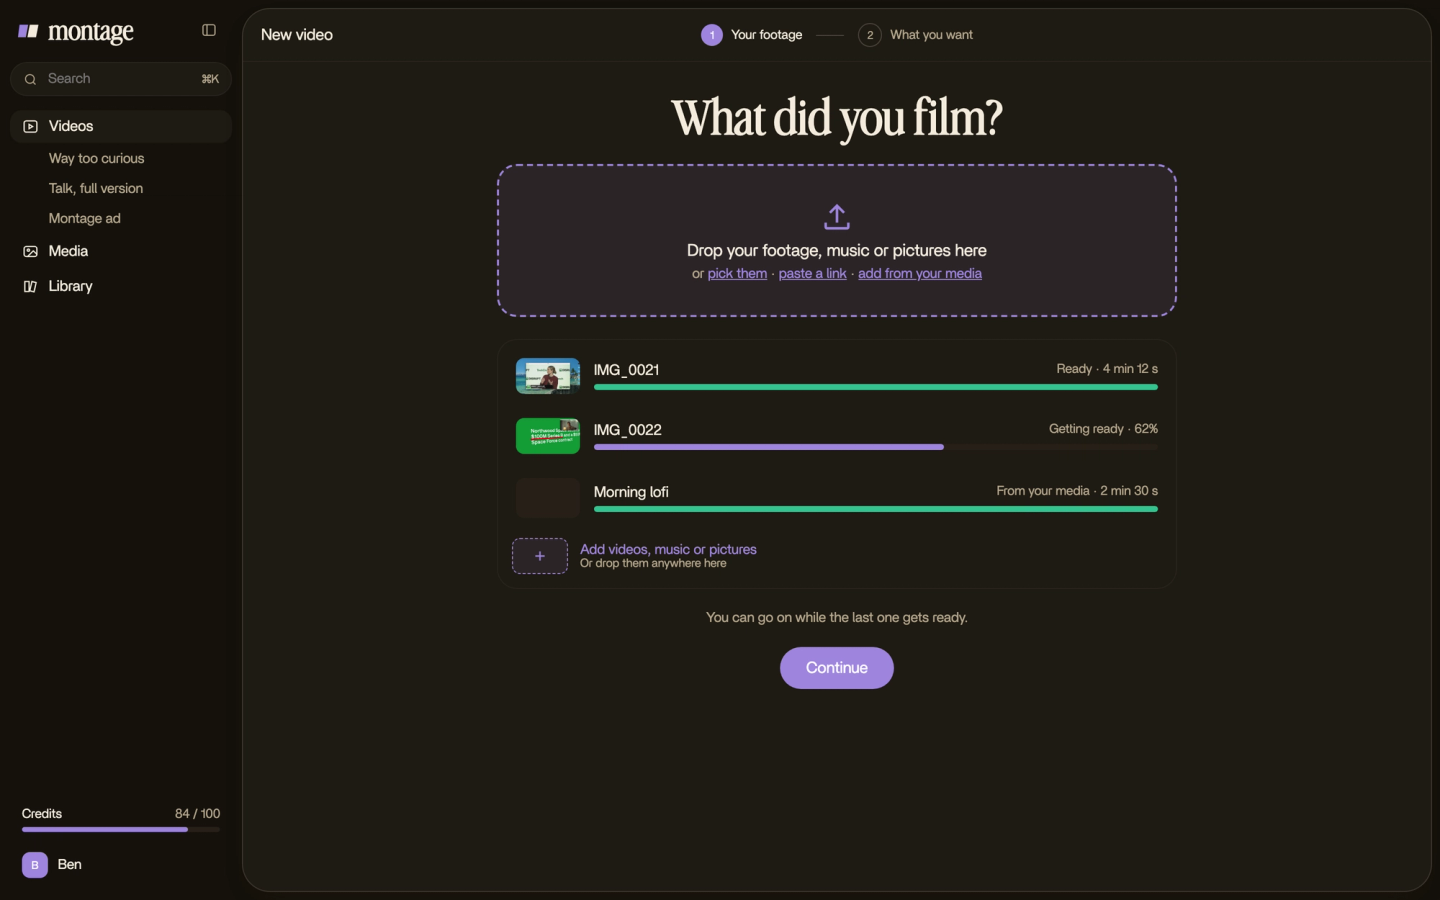
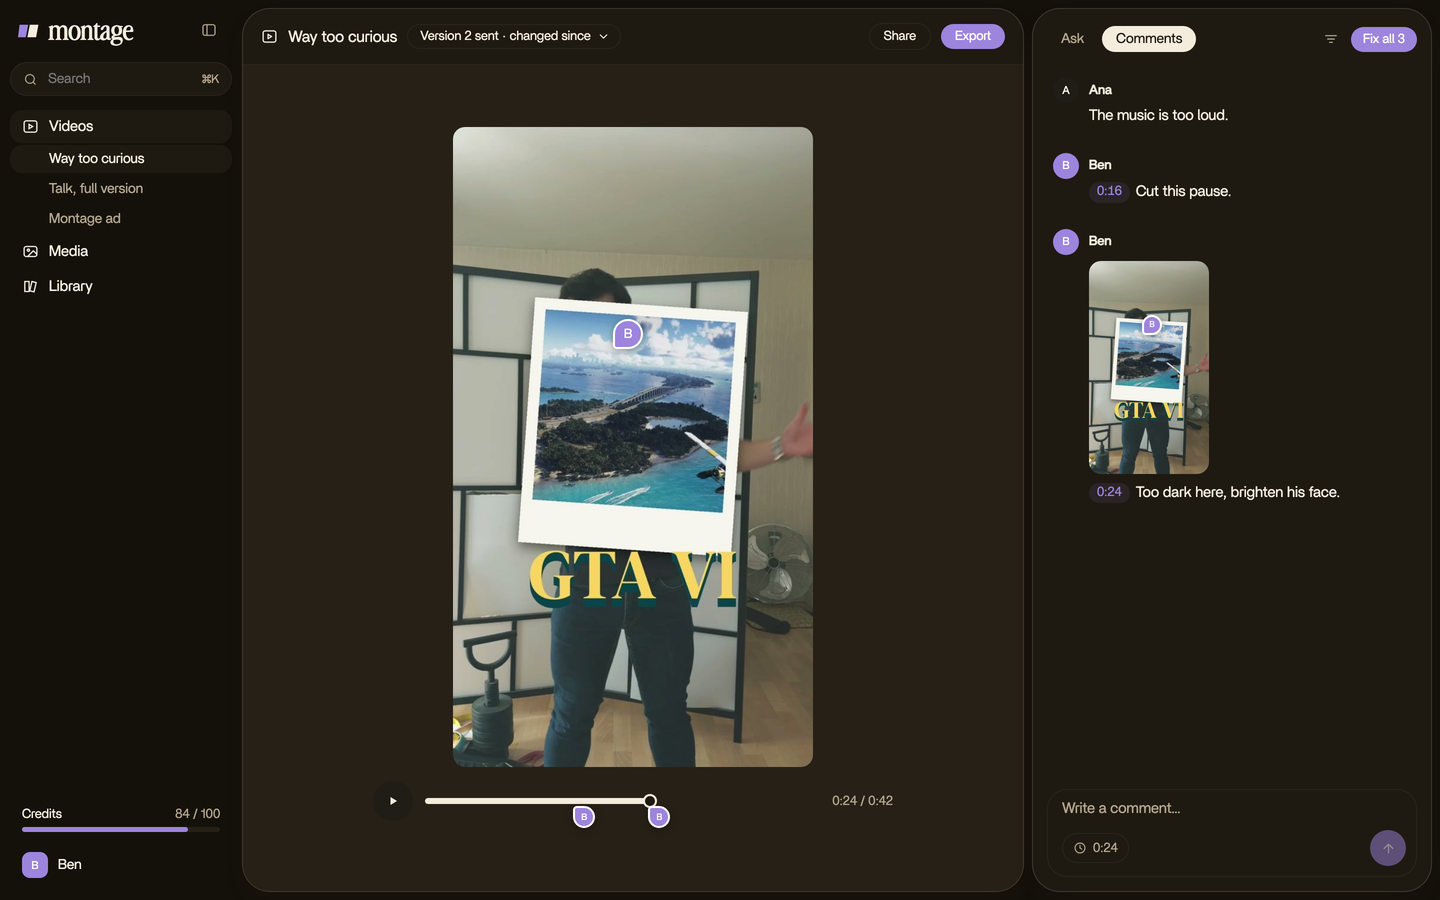
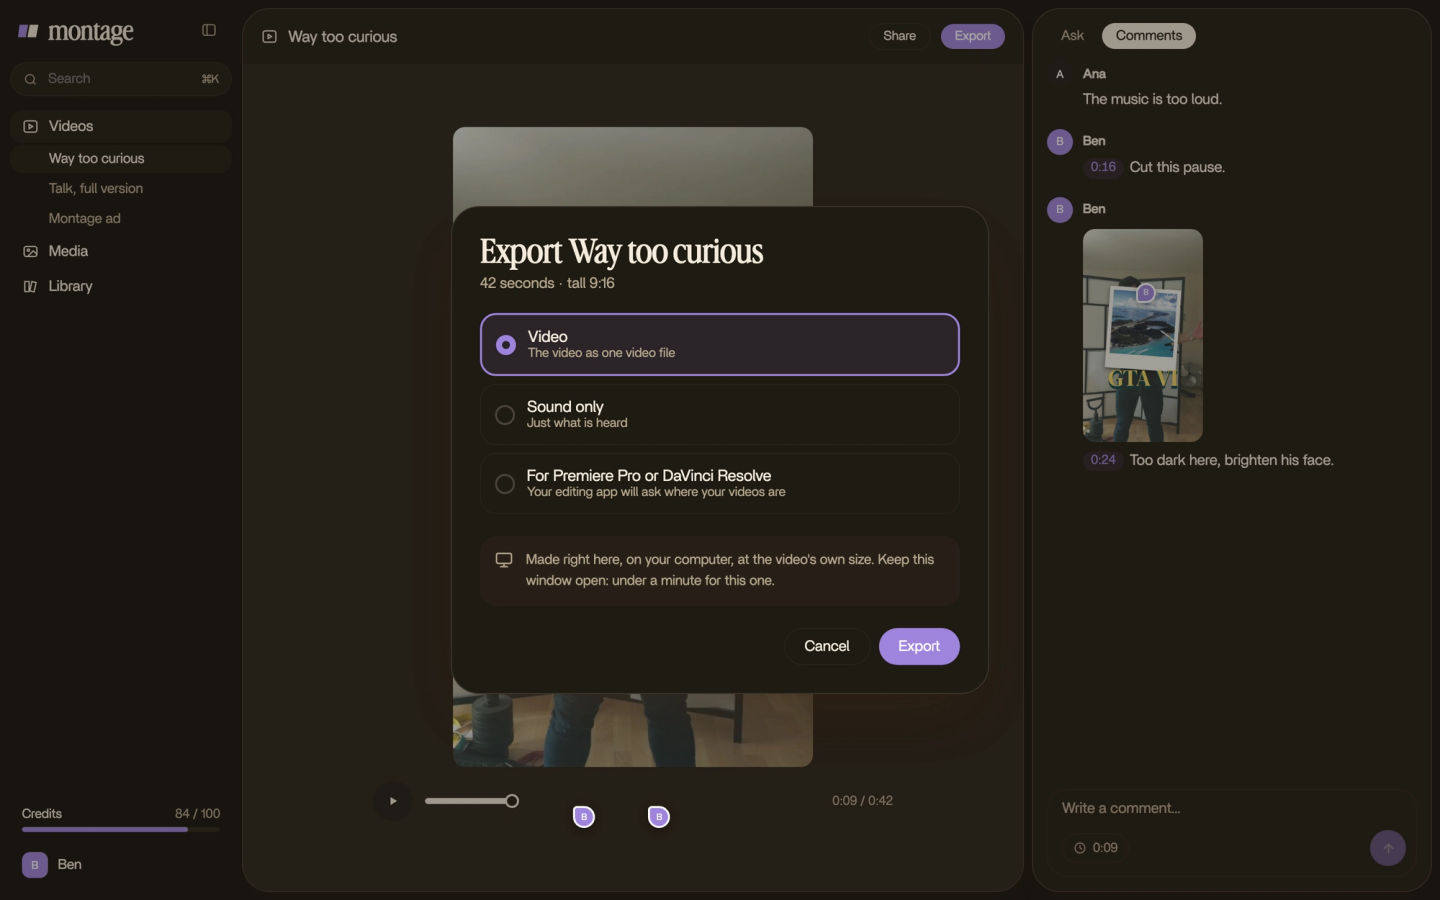
And with a timeline editor? Steps 1, 2, 3, 5 and 8 are the same. Steps 4, 6 and 7 become the work you do by hand, layer by layer. If you want the whole road, from the idea to the upload, read producing a YouTube video, from idea to upload.
Editing a video that's already on YouTube.
So you posted it, and something's wrong. Here's what YouTube Studio's editor can do, step by step (YouTube Help on trimming).
- Open YouTube Studio, then Content.
- Click the video, then Editor.
- Click Trim & cut. The blue box is what you keep. To remove a part in the middle, cut it out: the red box is what goes.
- Click Save.
The same editor can also blur part of the picture, add an audio track, and add end screens and info cards.
Now, two limits you should know before you save, both from YouTube's own help page:
- A video over 100,000 views that isn't in the YouTube Partner Program can only be blurred, not trimmed or cut.
- Since June 2025, a saved edit can't be reverted to the original. Keep your own copy.
And what it can't do? Any of the layers above. No color, no face cam, no B-roll, no text, no guest window. That's why the edit happens before you post. More on what you can still change in editing after you post.
Timeline editor or describing the edit?
Okay. Let's put the two ways side by side.
| Edit on a timeline | Describe the edit and comment | |
|---|---|---|
| Examples | Premiere Pro, DaVinci Resolve, CapCut | Montage |
| How you build the layers | You place every clip, title and window by hand | You say what you want, watch, and comment on the picture |
| 216 cuts | You make each one | Montage makes them, you check them |
| A part used 26 times | You copy it 26 times, or build a template | One component, reused |
| Best for | A job as an editor, or full manual control | Creators and founders who film themselves and want the video out |
| Not for | People who want this week's video posted this week | Film and TV editors who need an industry tool |
So, which one? If you want a job as an editor, learn Premiere Pro or Resolve. Truth is, that's what the industry uses. Here are the software YouTubers use and the best editing software for YouTube, compared.
Sure. But if you film yourself and you just want the video out? In my opinion, describe it, and spend your time on the next one. And if you edit on a laptop, here's a laptop for editing YouTube videos.
The mistakes that make people click away.
Let's be clear: these are the ones that cost you viewers.
- Leaving the pauses in. On a 9-minute video, every pause adds up. Cut them first. This is what retention editing is about.
- One take of each line. No second take, no choice.
- A face on screen with nothing around it. When you name something, show it.
- A different look on every take. Grade the flat ones so the film looks like one film.
- Rebuilding the same part every time. Make it once, reuse it.
- A long intro. Get to the point. Here's how to make a YouTube intro that does.
For the rest, here are more editing tips for YouTube. And if you've never edited anything at all, start with the five things every edit does.
Questions about how to edit a YouTube video.
How do I edit a YouTube video?
Before posting: cut your takes down to the best version of each line, fix the color, then add the face cam, the B-roll,
the text, the guests and the sponsor. Export in 16:9 and upload. After posting, YouTube Studio's editor can trim, cut a
section, blur, and add an audio track, end screens and info cards.
How do I edit an existing YouTube video?
Open YouTube Studio, then Content, click the video, then Editor. Make your change and click Save. Since June 2025, a saved
edit can't be reverted, so keep your own copy.
How do I trim a video from YouTube?
In YouTube Studio's Editor, click « Trim & cut ». The blue box is what you keep; the red box is a part you cut out. Then
Save. A video over 100,000 views that isn't in the YouTube Partner Program can only be blurred.
How can a beginner edit YouTube videos?
Film in takes, drop them all in, and say what the video is. Then watch it and comment on what's wrong. If you'd rather
learn a timeline editor, DaVinci Resolve has a free version and CapCut is simple to start with.
Can you edit a video through YouTube?
Partly. YouTube Studio can trim, cut, blur and add audio, end screens and cards to a video you've uploaded. It can't add
color, B-roll, text or a face cam. That edit happens before you post.
How long does it take, and what does an editor cost?
It depends on the video and on who edits it. Here's how long an edit takes,
and what an editor costs.
See it in real videos.
Every layer in this guide is in one real film, made in Montage. The other three showcase videos are shorts, made the same way.
 9:18
 2:07
 0:56
 0:38
That's it for this one. Now go film your takes.
See you in the next one.