Color grading program:
which one for your video?
Everybody says « just use Resolve ». Sometimes that's right. But the program you need depends on what your footage needs, so let's start there, with real before-and-afters.
 Ben, founder of Montage · · 9 min read
In this post8 parts
The short answer.
Let's start with the answer.
The best color grading program is the one that does the job your footage needs. If you want full control and you're ready to learn, that's DaVinci Resolve: it has a free version, and it's what a lot of colorists use. If you already edit in Premiere Pro or Final Cut Pro, grade right there, inside your edit. If you just want the video to look right, without learning a grading panel, you can ask for the grade in words and comment on what's still off.
That's it. Three kinds of reader, three answers.
Now, if you're not sure yet what color grading is, here it is in one line: color correction fixes the picture (too dark, too flat, a little green), color grading gives it a look. Most programs do both.
Pick the job first. The program comes second.
Why most lists get this backwards.
So why is choosing so confusing? Let me explain.
Look at the lists that rank for this search. They compare programs by their controls: color wheels, nodes, scopes, film emulation. Pros and cons per tool. Useful, sure. But three of them are written by someone selling something next to the list: a grading product, a storage system, an editing console.
And none of them starts from the footage you actually have. Here's the thing: if you film yourself, you don't need « the most features ». You need one of three jobs done.
The three jobs your footage asks for.
1. Flat footage that needs a LUT on every shot
You filmed in Apple Log on an iPhone, or in HDR or a log profile on a camera. It looks grey on purpose. It needs a LUT, a file that turns flat footage into a finished color, on every single shot.
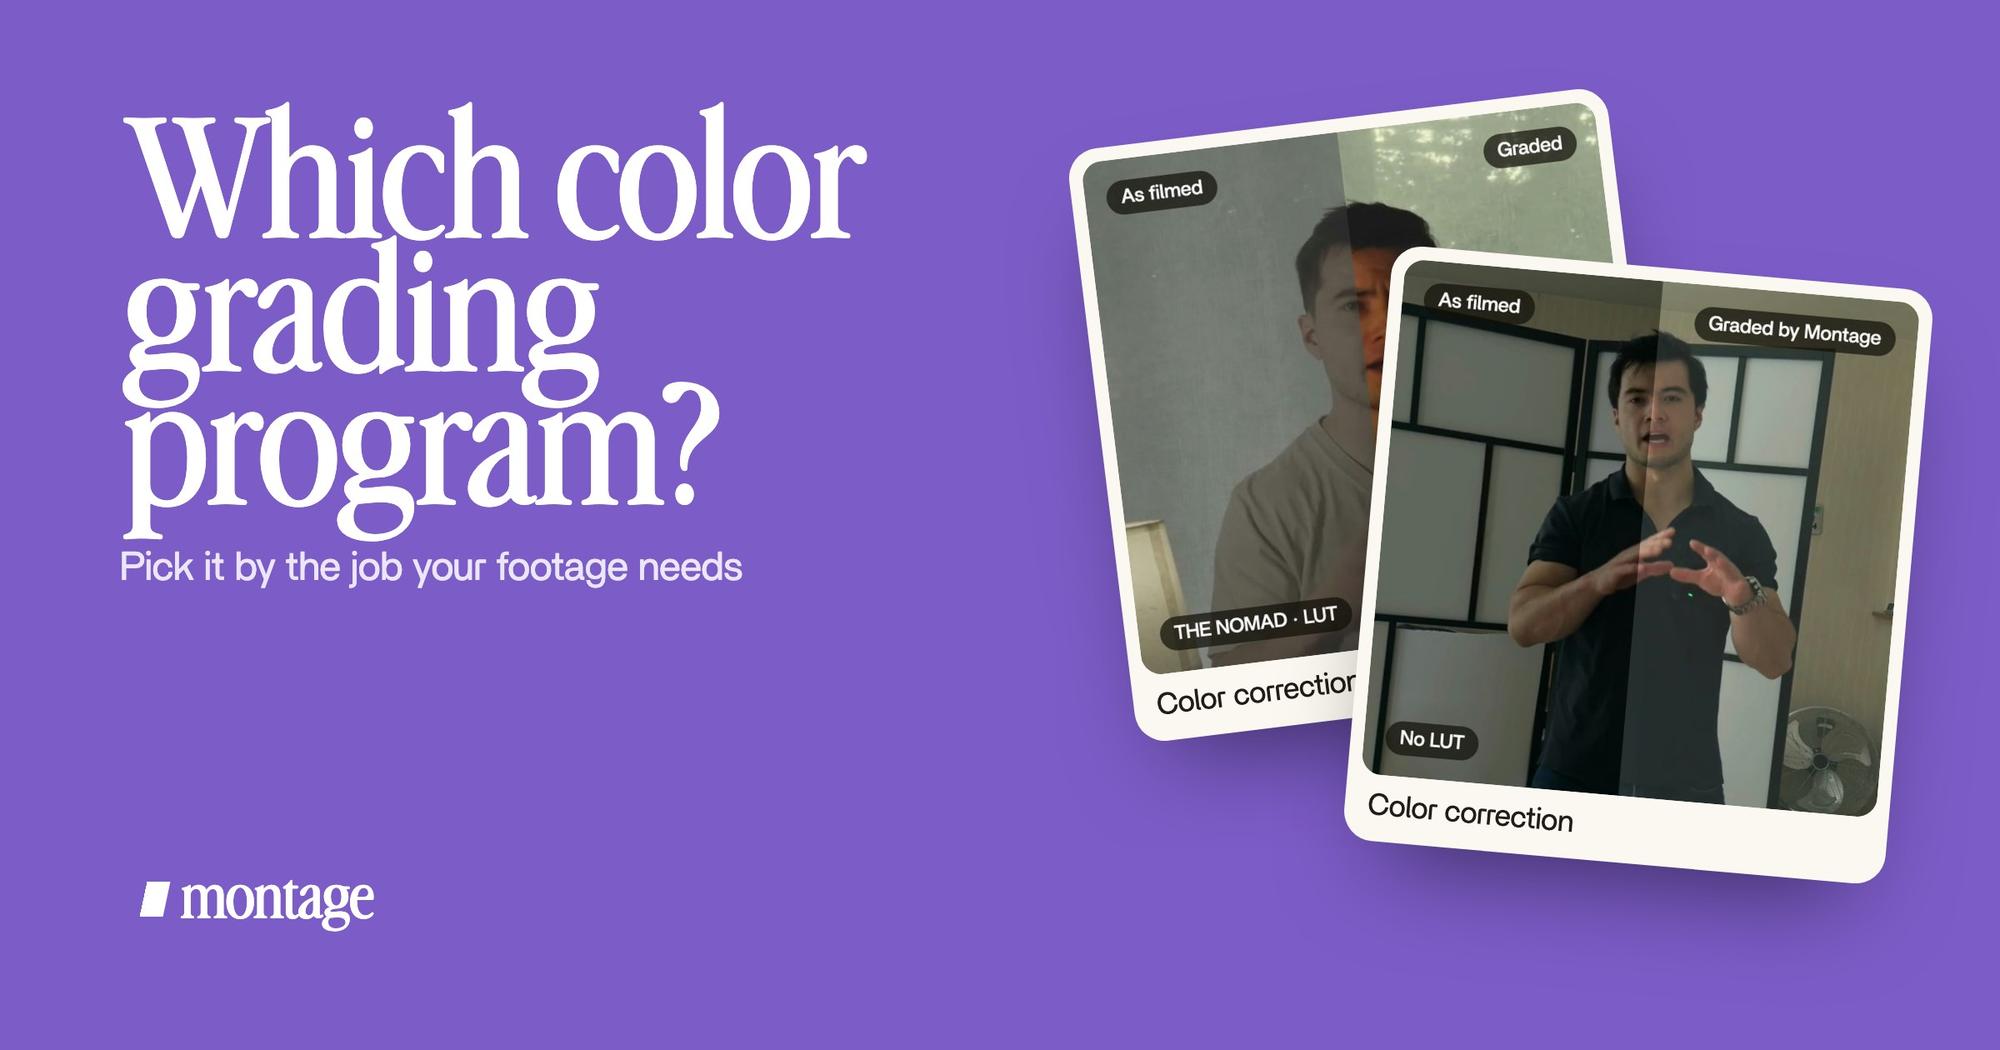
 Color correctionFilmed flat in Apple Log, my LUT on every shot. Same frame, split down the middle.
 Color correctionFilmed flat in HDR, the NOMAD LUT on every shot. Same frame, split.
How to be creative was filmed flat in Apple Log, with my LUT on every shot. Edit it all with AI was filmed flat in HDR, with the NOMAD LUT on every shot. Same frame, split down the middle: before on the left, after on the right. If you're starting from Apple Log, here's how to pick the right Apple Log LUT, and how to get it right when shooting in Apple Log.
Every program on this page can apply a LUT. The question is how much work it is to put the same one on fifty shots, and to change it later. One thing to know, from Maxon's own page: a LUT « bakes one result onto your image ». It's a starting point, not the whole grade.
2. Only some shots graded, so everything matches
This one is sneakier. You filmed one video over several takes, and some came out flat while others didn't.
 Color correction
In the 9-minute film, takes 4 to 7 were filmed flat. The NOMAD LUT went on each of those, and the first three were left as they were. Put a LUT on everything, and the first three would look wrong. Put it on nothing, and four takes would look grey.
So the job here is choosing shot by shot, then matching. In a timeline program, that's grading each clip by hand.
3. Footage that's just too dark
No log, no LUT. You filmed on a phone in bad light and it came out too dark.
 Color correction
The video filmed too dark, Way too curious, was shot on an iPhone. I asked for a grade, no LUT, and Montage lifted it on its own. Same frame, split. This job is correction more than grading: exposure, contrast, a bit of color. Any program does it. The difference is whether you do it, or ask for it.
Every color grading program, side by side.
Okay. Here are the programs the lists name, plus Montage, grouped by the kind of program they are. Every price comes from a named source, checked on 2026-10-29.
| Program | What kind | Price (source) | Best for | The catch |
|---|---|---|---|---|
| DaVinci Resolve | A full editor with a dedicated color page | Free version; Studio $236 (blackmagicdesign.com) | Learning grading properly, full control | The steepest learning curve |
| Premiere Pro | An editor with color inside (Lumetri Color panel) | About €26 a month (adobe.com) | Grading inside the edit you already have | A crowded panel |
| Final Cut Pro | An editor with color inside | $299.99 one-time (colorgradingcentral.com) | Mac users who edit in it already | Mac only |
| CapCut | A simple editor | Free (capcut.com) | Quick fixes on short videos | Basic controls |
| Magic Bullet, FilmConvert | Plugins, inside your editor | FilmConvert Nitrate from $99 (colorgradingcentral.com) | A film look or a preset on top of your edit | You still need an editor |
| Baselight | A studio grading system | macOS from $7,500 a year (shade.inc) | Films, series, post houses | Not built for a creator |
| Montage | An AI editor, no color panel | Plus $25, Pro $50, Max $100, Ultra $200 a month (pricing) | Getting the look without learning the craft | Not a colorist's tool |
Now let's go through them, one block each.
DaVinci Resolve
Resolve is a full editor with a whole page made for color. The primary wheels are lift, gamma and gain: the shadows, the mids, the highlights. Its free version grades up to 4K with no watermark, according to Shade. Studio is $236 on Blackmagic's own page.
Honestly, if you want to learn grading, get Resolve. It's free, and there are years of tutorials for it. Sure. But it's the hardest one here to learn.
Premiere Pro and Final Cut Pro
These are editors first. The color tools sit inside the edit: in Premiere Pro, that's the Lumetri Color panel. The upside is obvious. You don't leave your project to grade it.
If you already edit in one of them, I'd start there. Switching programs just to grade is a lot of work for a short video.
CapCut
CapCut is free and simple. Its color controls are basic, as colorgradingcentral puts it. For a quick fix on a short, it's fine. For matching takes or a real look, you'll hit its limits fast. If you're thinking about leaving it, here's a CapCut alternative.
Plugins: Magic Bullet, FilmConvert, Dehancer
These run inside your editor. Magic Bullet Looks comes with 300+ presets, per Maxon. FilmConvert Nitrate starts at $99. They give you a look fast. But they don't edit, so you still need Premiere, Resolve or Final Cut underneath.
Baselight and the studio systems
Baselight, Autodesk Flame and Nucoda are built for post-production houses. Shade lists Baselight on macOS from $7,500 a year, Flame at $5,215 a year, Nucoda at $119 a month. If you're grading a film or a series, this is where you'll end up. If you're grading a talking-head short? No.
A fourth kind: the program with no color panel.
So far, every program on this list works the same way. You open a panel and you move the controls yourself.
There's another way now: AI color grading. In Montage, there's no color page. You say what you want: « put my LUT on every shot », « takes 4 to 7 only », « too dark, grade it, no LUT ». Then you watch the result, and you comment on the shot that's still off.
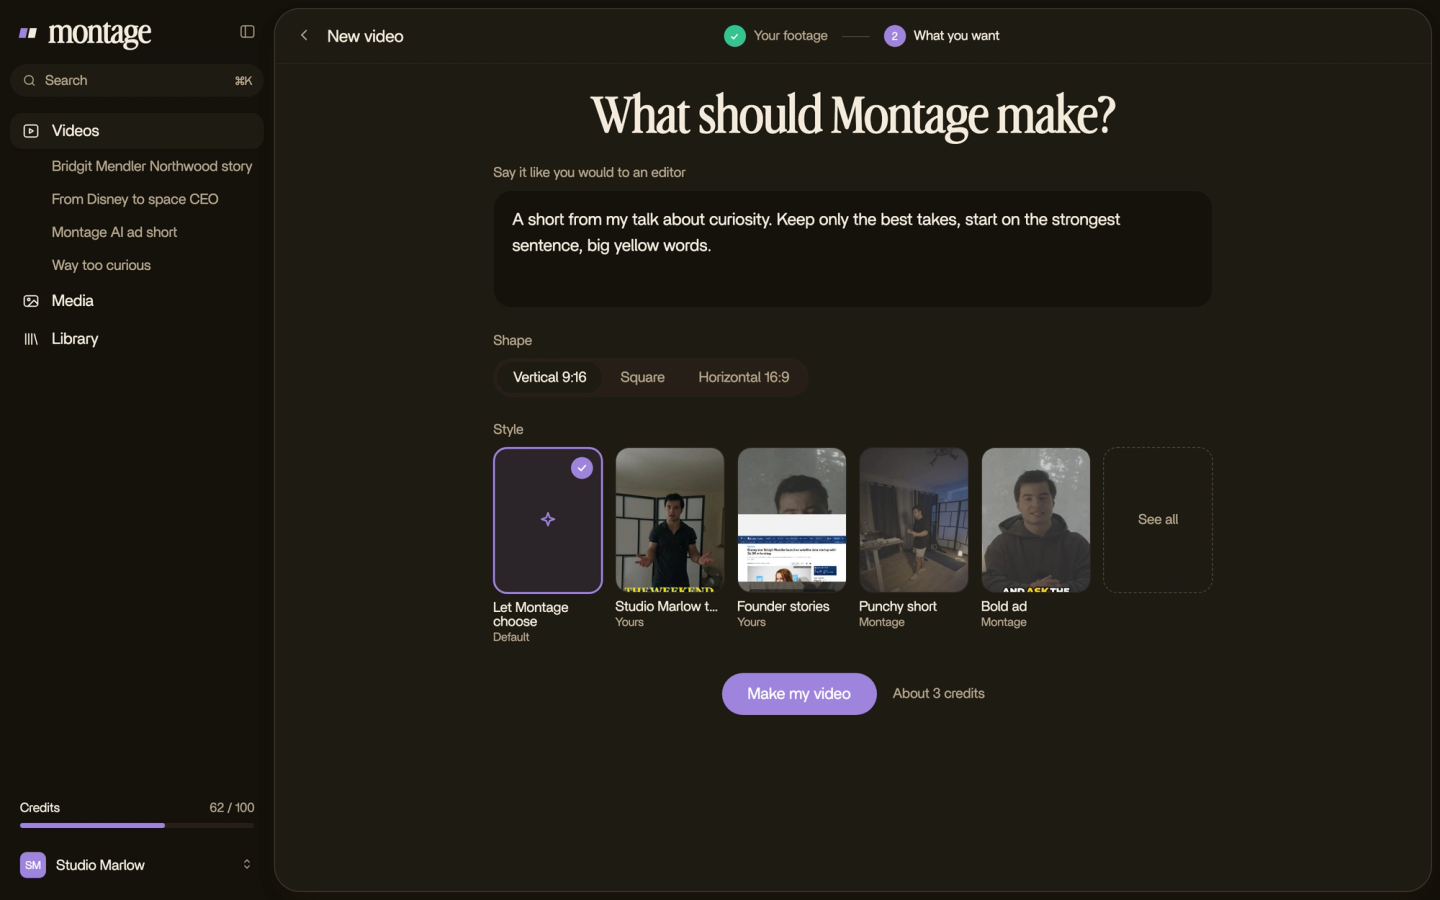
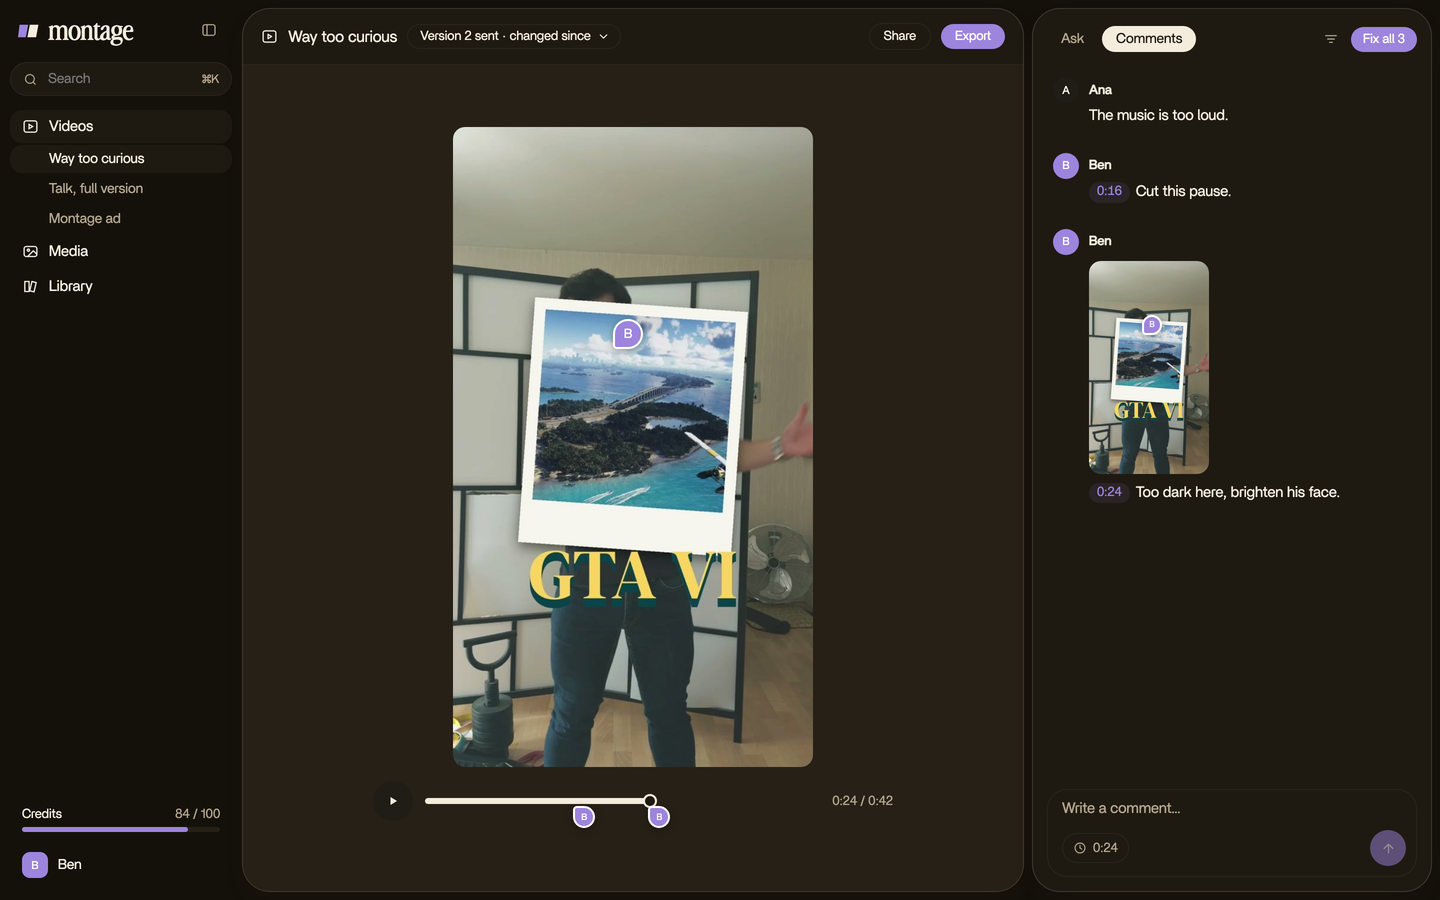
Who is it for? A creator who wants the look, not the craft. You know what you want your video to look like. You just don't want to learn lift, gamma and gain to get there. More on color grading done by asking.
Who is it not for? Let's be clear: a colorist, a film, a series. If grading is your job, use Resolve or Baselight.
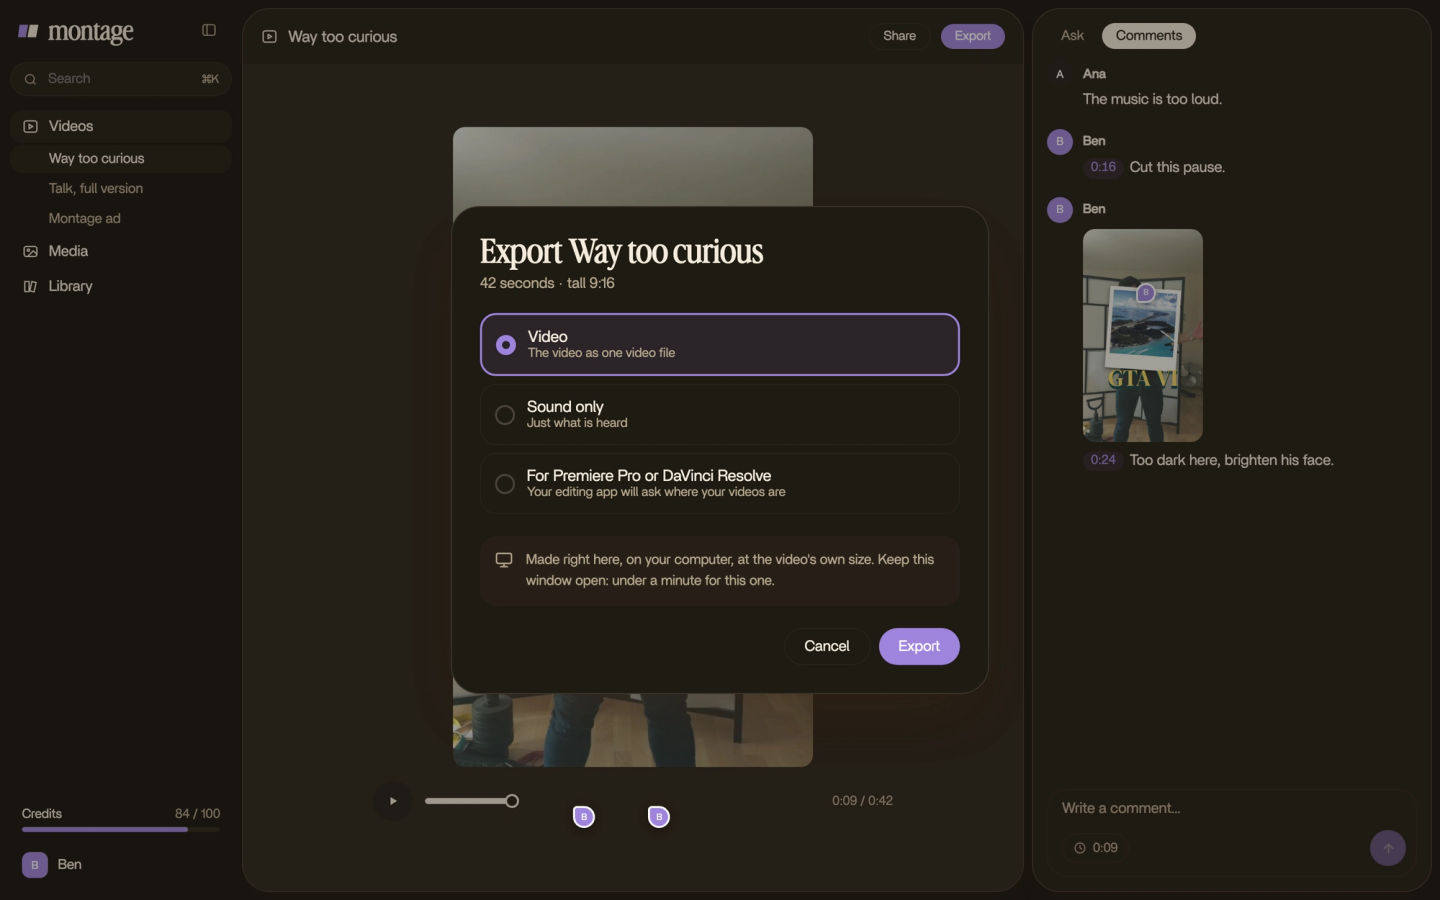
And here's the bridge. Montage exports the cut for Premiere Pro or DaVinci Resolve. So you can let Montage make the edit, then do the grade in Resolve yourself.
Knowing what to adjust is the hard part. The sliders are the easy part.
So which one should you pick?
Here's how I'd do it.
- You want to learn color grading. DaVinci Resolve. Start on the free version.
- You already edit in Premiere Pro or Final Cut Pro. Grade there, with its own color tools.
- You want a film look on top of your edit. A plugin: Magic Bullet or FilmConvert.
- You make quick shorts and need a small fix. CapCut does it.
- You want the video to look right, and you'd rather not learn a panel. Ask for the grade, then comment on it.
- You grade films or series for a living. Resolve Studio or Baselight.
Pretty simple, right? Find your line, and you have your program.
Color grading program: your questions.
What is the best program for color grading?
For control and price, DaVinci Resolve: the free version grades up to 4K with no watermark, and Studio is $236. That's the
honest answer. But if you already edit in Premiere Pro or Final Cut Pro, grade there. And if you don't want to learn a
grading panel at all, an AI editor like Montage lets you ask for the grade instead.
What is the best free color grading program?
DaVinci Resolve's free version. It has the full color page and grades up to 4K with no watermark, according to
Shade. CapCut is free too, with much simpler controls.
How much does it cost to color grade?
It depends on the job and on who does it. The programs go from free (Resolve, CapCut) to $299.99 once (Final Cut Pro) to
$7,500 a year (Baselight). Paying a person is another budget: here's what to know about hiring a colour
grader.
What do Hollywood colorists use?
Mostly DaVinci Resolve and Baselight, according to Shade and XPPen. Both are built for long projects, big files and teams.
Is color correction software the same thing?
Pretty much. Every color grading program also does correction: exposure, contrast, white balance. Correction fixes the
picture, grading gives it a look. Here's more on video color correction. And if you're just
starting out, read video editing for beginners first.
See the grades in real videos.
Every grade on this page was done on a real video, each one asked for in words. Watch them whole.
 9:18
 2:07
 0:56
 0:38
That's it for this one. Now go fix that flat footage.
See you in the next one.