Video color correction:
fix dark, flat or mismatched footage.
Your clip came out too dark, too grey, or it doesn't match the take before it. That's what color correction fixes. Let me show you how, on real videos.
 Ben, founder of Montage · · 8 min read
In this post9 parts
- The short answer
- Color correction vs color grading
- How to do video color correction, step by step
- Match your shots: the second job of correction
- Flat footage: first a conversion, then the correction
- Video color correction online free: the tools compared
- Color correction in one sentence
- Video color correction: your questions
- Where to go next
The short answer.
Ladies and gentlemen, let's start with the answer.
Video color correction is fixing the exposure, the white balance and the contrast of a clip so it looks the way the scene looked, and so every shot in the video matches the others. That's it. It's not a look. It's not a style. It's making the footage look normal.
So what does color correction actually fix? Three problems, pretty much every time:
- Too dark or too bright. The light was bad, the phone guessed wrong.
- The wrong white balance. Everything looks too warm, too blue, a little green.
- Shots that don't match. One take is bright and warm, the next is grey and cold.
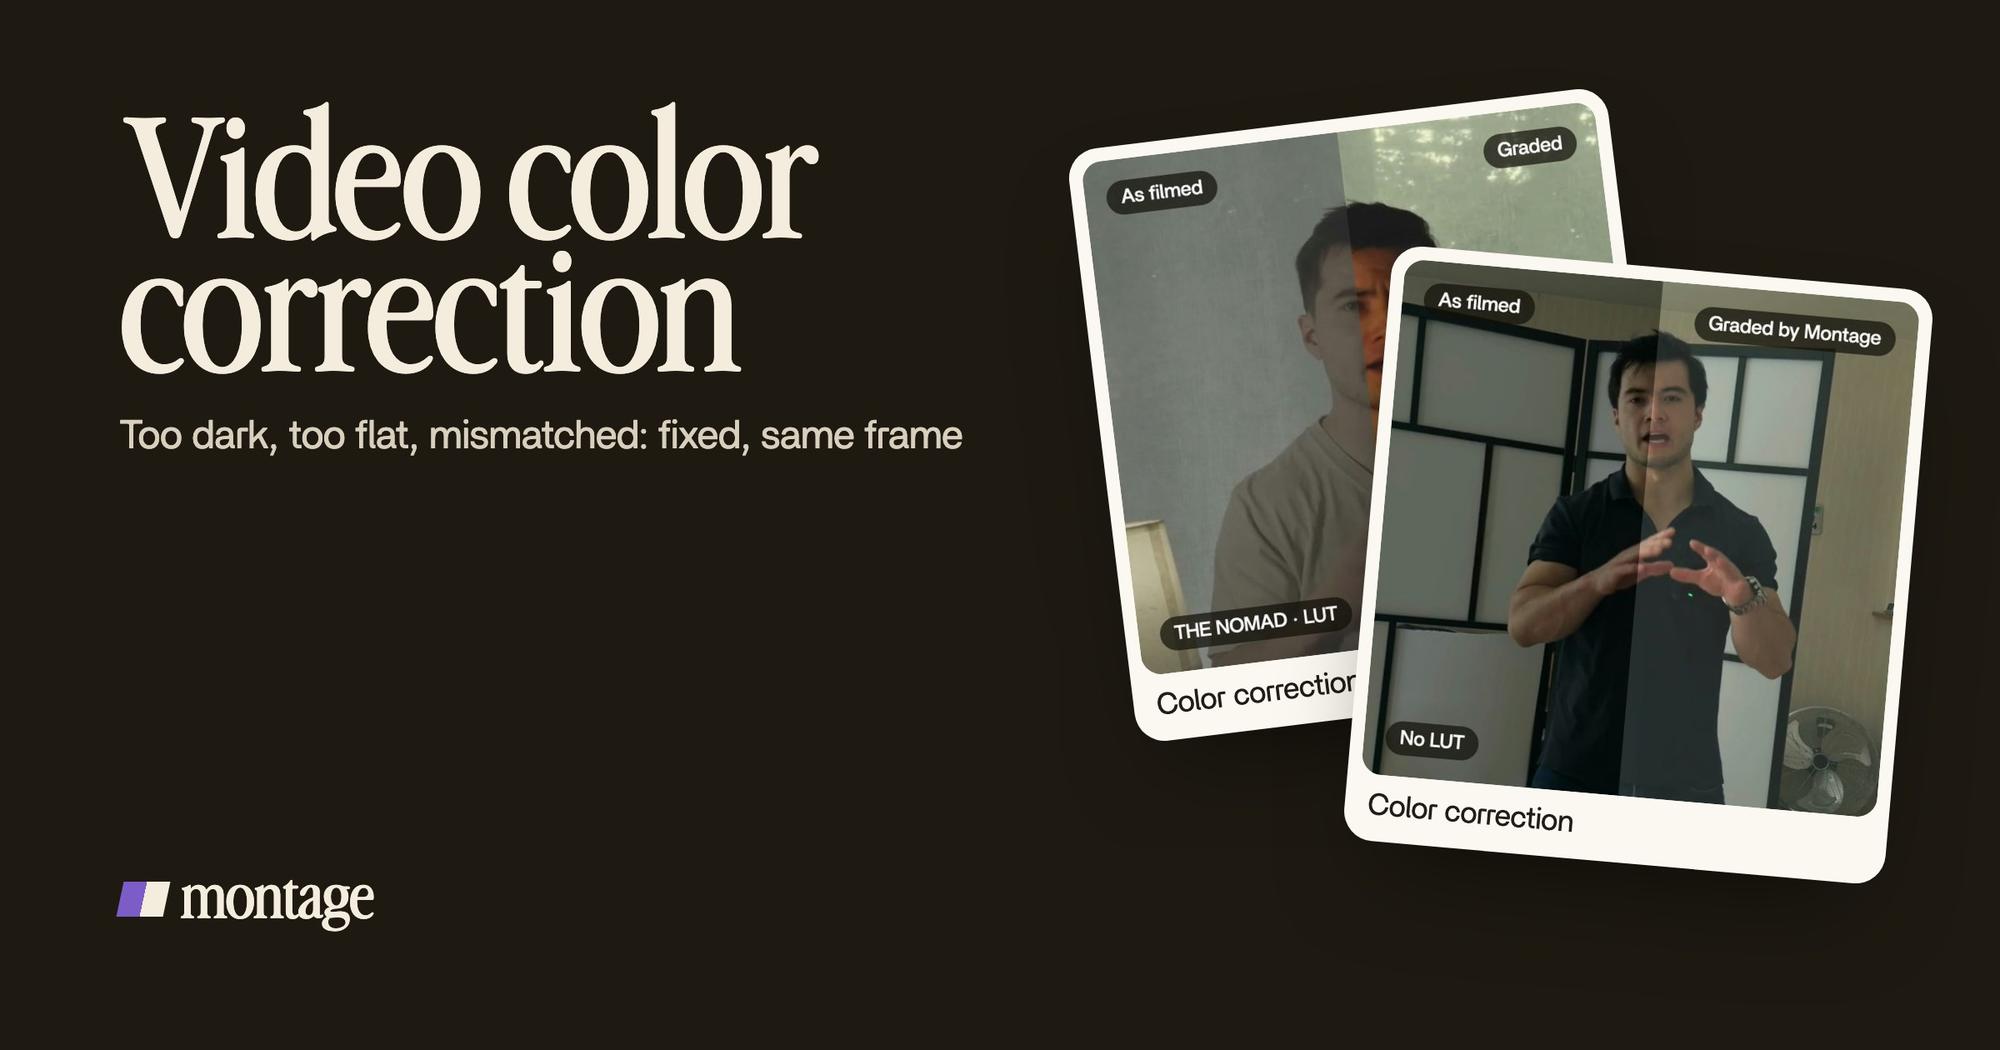
Here's the first one, on a real video. Way too curious was filmed too dark on an iPhone. I asked for a grade, no LUT, and Montage lifted it on its own. Same frame, split down the middle.
 Color correction
The card says « a grade ». But lifting a clip that's too dark is the correction part of it: nothing added, just the light put back. You can watch the video filmed too dark from start to finish.
Color correction vs color grading.
People mix the two up all the time. Let me explain.
Correction comes first. It's technical: exposure, white and black levels, contrast, white balance. StudioBinder's guide puts it well: colors « as human eyes would see them ». Grading comes after. It changes the mood: warmer, colder, a film look, your look.
Correction makes it look real. Grading makes it look like you.
If you want the second half of the story, here's what color grading is, and how a look is built once the footage is right.
Honestly? Most of your clips need a correction, not a look.
How to do video color correction, step by step.
The guides that rank give the same order, each in its own words. StudioBinder's colorist order and Clideo's « brightness and contrast first » come down to three steps, then two checks.
Here they are in more detail.
- Fix the exposure. Brightness and contrast before anything else (Clideo's order). Lift a clip that's too dark, bring down one that's blown out. True black should be black, true white should be white.
- Set the white balance. Find something that should be white, a wall, a shirt, a sheet of paper, and make it white. StudioBinder puts it near the start, right after the input LUT. And one of its rules is simple: skin tones must look like skin.
- Match every shot. Pick an average clip and match the others to it (StudioBinder again). A video where every take has its own color doesn't look like one video.
- Then saturation. Only now, a little more or a little less color. Clideo puts saturation and hue after brightness and contrast, for a reason: color on top of bad light just looks like bad light with color.
- Watch it all the way through. Not one frame. The whole video, one shot after the other. That's where a mismatch jumps out.
Fix the light first. The look comes after.
Match your shots: the second job of correction.
Now, this is the part every tool page skips.
Correction isn't only about one bad clip. It's about making seven takes look like one video. And sometimes, that means knowing which shots not to touch.
My film From Disney star to space CEO was filmed in seven takes. Takes 4 to 7 were filmed flat. The first three weren't. So the NOMAD LUT went on each flat take, and the first three were left as they were.
 Color correction
Why not put the LUT on everything? Because StudioBinder says it clearly: an input LUT is for flat footage, never for footage that's already been processed. Put it on a normal take and you push it too far. Do you see the difference? Same video, two kinds of footage, one result that looks like one film. Watch the nine-minute film with seven takes and try to spot where it changes.
Flat footage: first a conversion, then the correction.
Here's the thing: grey footage isn't wrong. It's unfinished.
When you film in Apple Log or HDR, the phone keeps as much of the light as it can, and the picture looks flat and grey on purpose. The first step isn't a slider. It's a LUT that brings the footage back to normal. StudioBinder calls it the input LUT, to Rec. 709, and compares Log footage to hot water: it still has to be brewed.
 Color correctionFilmed flat in Apple Log, my LUT on every shot. Same frame, split down the middle.
 Color correctionFilmed flat in HDR, the NOMAD LUT on every shot. Same frame, split.
How to be creative was filmed flat in Apple Log, with my LUT on every shot. Edit it all with AI was filmed flat in HDR, with the NOMAD LUT on every shot. Same frame, split, both times.
If that's your footage, start with an Apple Log LUT. If you're about to film, read about filming in Apple Log first, and what changes with Apple Log 2.
Video color correction online free: the tools compared.
Okay. Let's put the tools side by side. What each one does, from its own page, checked on 2026-10-29. No ranking: I didn't test them against each other.
| How you correct | Free | Limits (their own pages, 2026-10-29) | |
|---|---|---|---|
| Clideo | Sliders: brightness, contrast, saturation, hue, vignette | Yes, files under 500 MB | No batch: one video at a time, online only |
| Veed | Sliders: brightness, contrast, saturation, exposure, then effects for a grade | Yes, its color tools, no credit card | Online only; some other tools need a subscription |
| Flixier | A timeline editor in the browser: sliders, RGB gamma, and Color Match from a reference frame | Free plan | Free exports carry a watermark |
| ImagineArt | AI, by prompt | 100 free daily credits on sign-up | Generative: it remakes the clip |
| DaVinci Resolve | Scopes, curves, color match, the full colorist's toolset | Free version | A program to install and learn |
| Montage | You say it in a sentence, you look, you comment | A free plan to start | Corrects your footage, doesn't generate a new one |
So which one? If it's one clip and you just want it brighter, a slider tool does the job. If you want full control and you're ready to learn, Resolve is a color grading program with a free version, and it goes as far as you want.
Sure. But if you don't want to learn a color panel at all? Then you say it.
Color correction in one sentence.
This is how Way too curious was done: I asked for a grade, no LUT. You describe what's wrong, in your own words: « It's too dark, fix it, no LUT. »
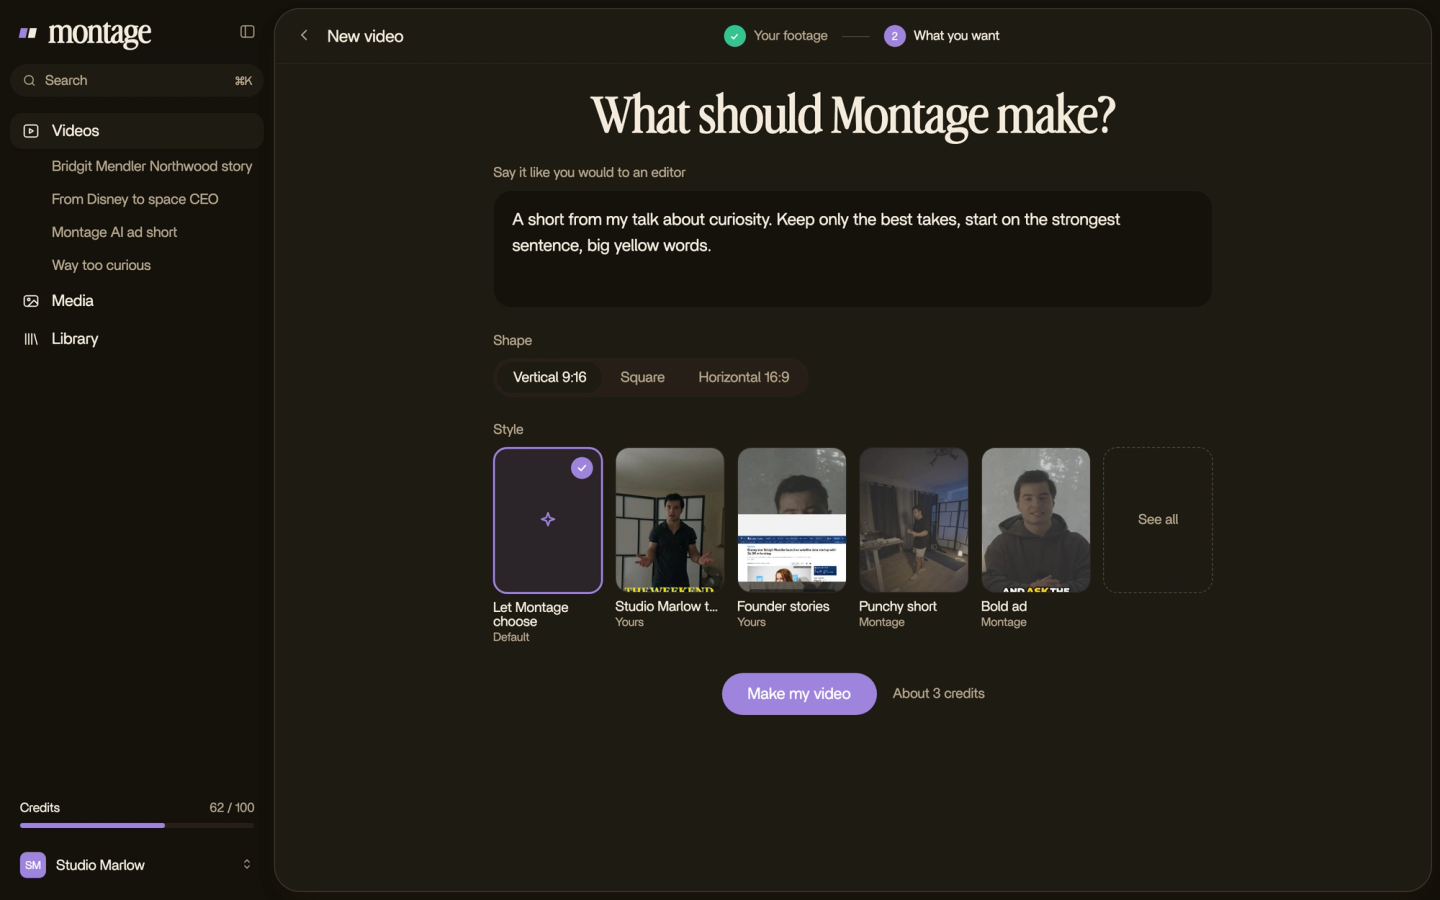
Then you look at the split frame. And if one shot is still off, you pause on it and point at it.
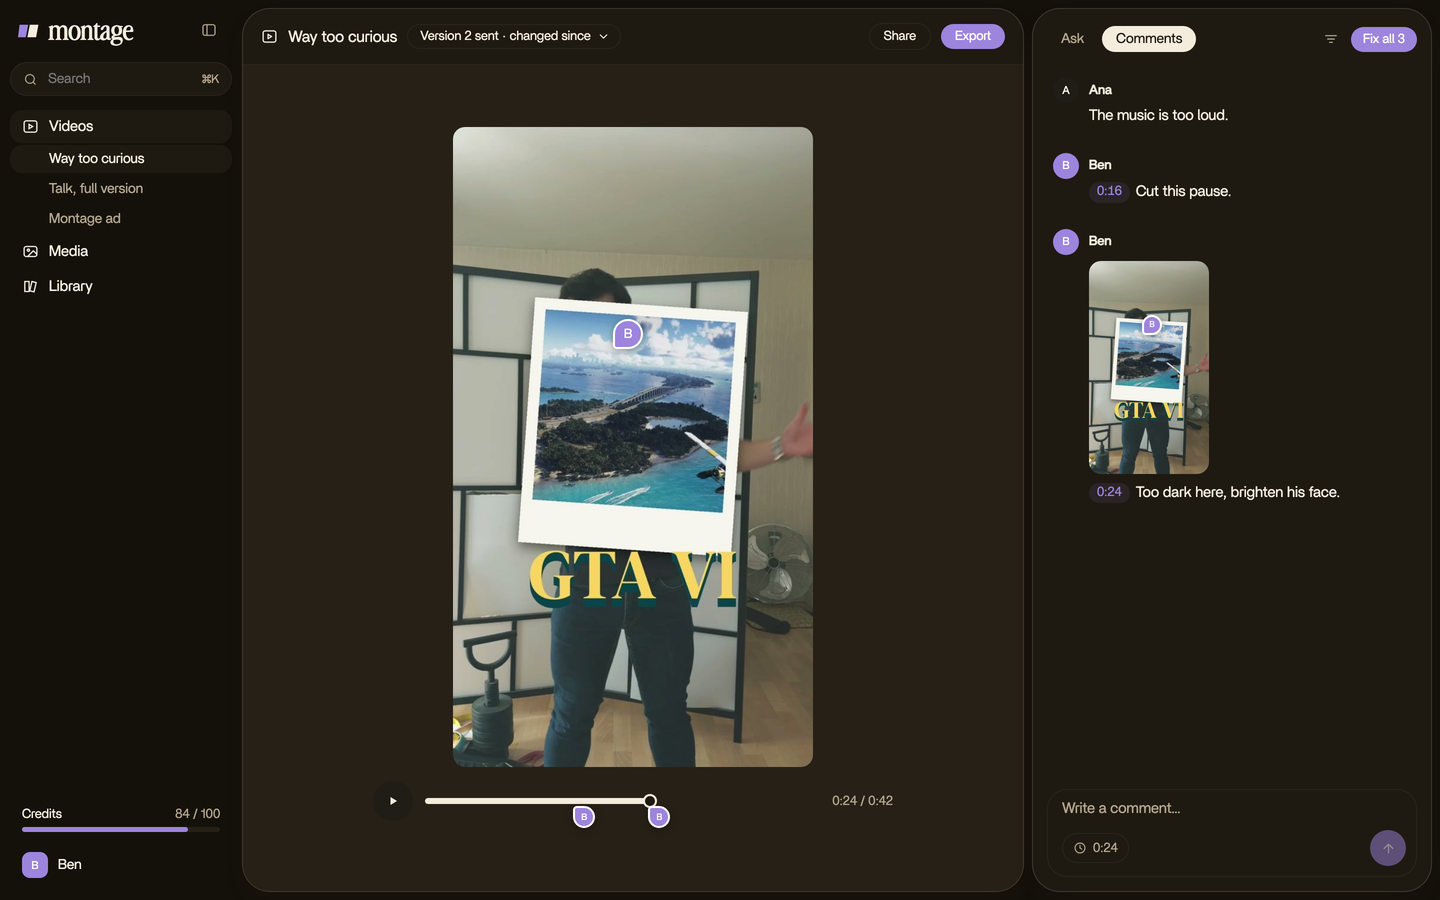
That's color correction done by asking. And if you want to finish the color yourself, you can export the cut to DaVinci Resolve and carry on there.
Video color correction: your questions.
How do I color correct a video?
Fix the exposure first, then the white balance, then match every shot to an average one. Saturation comes last. In a
slider tool you drag each one; in Montage you say what's wrong and comment on what's still off.
Can I color correct a video online for free?
Yes. Clideo is free for files under 500 MB, Flixier has a free plan with a watermark on exports, Veed's color tools are free
in the browser, and ImagineArt gives 100 free daily credits (all checked on 2026-10-29). DaVinci Resolve has a free version, but
it's a program you install.
Is color correction necessary?
In some cases, yes. Veed's own answer: especially with raw footage. If you filmed in Log or HDR, always. For a film or a
series, it's worth hiring a professional colourist: that's a craft, and it shows.
What's the difference between color correction and color grading?
Correction fixes the footage so it looks real and every clip matches. Grading changes the mood after (Flixier and
StudioBinder both put it in that order). More in what color grading is.
Can AI color correct a video?
Yes, two ways. A tool like ImagineArt remakes the clip from a prompt. An editor like Montage corrects your own footage
from what you ask. Here's more on grading with AI.
How do I fix a video that's too dark?
Raise the exposure or brightness first, then bring the contrast back so the blacks stay black. That's what Way too
curious needed: filmed too dark on an iPhone, lifted, no LUT.
Where to go next.
Color is one of the five things every edit does. If you're starting out, video editing for beginners walks through the other four.
That's it for this one. Now go fix that dark clip.
See you in the next one.